Mold Removal from Popcorn Ceilings
Popcorn ceilings were prevalent in homes in the mid-20th century for numerous reasons, including their ability to hide imperfections, absorb sound, and offer a textured aesthetic. Despite the popularity of popcorn ceilings in bathrooms or bedrooms, this type of ceiling is highly susceptible to mold growth. The textured surface creates areas that trap moisture, providing an ideal environment for moldMold is a type of fungus that grows in damp or humid conditi... More sporesSpores are microscopic reproductive units of fungi or mold t... More to flourish.
This article provides a comprehensive guide to safely remove moldMold is a type of fungus that grows in damp or humid conditi... More without damaging the delicate texture of the ceiling. From taking necessary precautions like wearing protective gear and testing for asbestos, to using gentle cleaning solutions and preventing future moldMold is a type of fungus that grows in damp or humid conditi... More problems, this article equips readers with the tools and knowledge to effectively restore their popcorn ceilings.
What Are Popcorn Ceilings?
Familiarly known as cottage cheese ceilings, stucco ceilings, or acoustic ceilings, popcorn ceilings had their heyday in the mid-1900s. The textured ceilings hid imperfections and muffled noise while being incredibly easy to spray on. The material could even be found throughout entire homes.
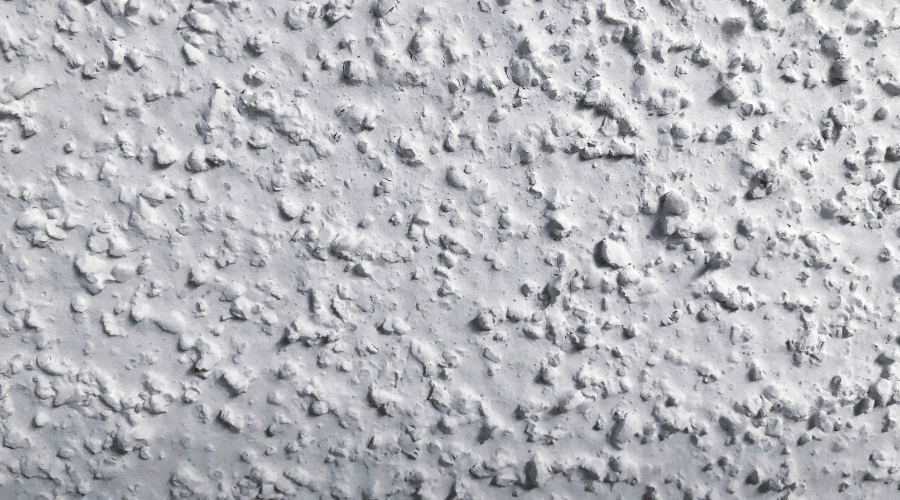
However, the asymmetrical appearance of popcorn ceilings makes them difficult to clean. The dust becomes embedded in the textured areas, and applying excessive pressure can cause chipping. Consequently, owners of older homes built with this type of ceiling may not know how to begin cleaning them. While dust becoming trapped within the bumps and ridges of the popcorn ceiling is a maintenanceMaintenance is the routine care, inspection, and repair of a... More issue, so is moldMold is a type of fungus that grows in damp or humid conditi... More. When bathrooms feature popcorn ceilings, humidityHumidity is the amount of moisture or water vapor present in... More from showers and baths can settle into the crevices of the ceiling. In no time, a moldMold is a type of fungus that grows in damp or humid conditi... More problem begins.
How is Mold Removed from Popcorn Ceilings?
Cleaning moldMold is a type of fungus that grows in damp or humid conditi... More from an ordinary ceiling is a hazardous task, considering the sporesSpores are microscopic reproductive units of fungi or mold t... More could be easily scattered and contaminate other parts of the home. Removing moldMold is a type of fungus that grows in damp or humid conditi... More from a popcorn ceiling is an entirely different and more complicated task that comes with its own set of health risks.
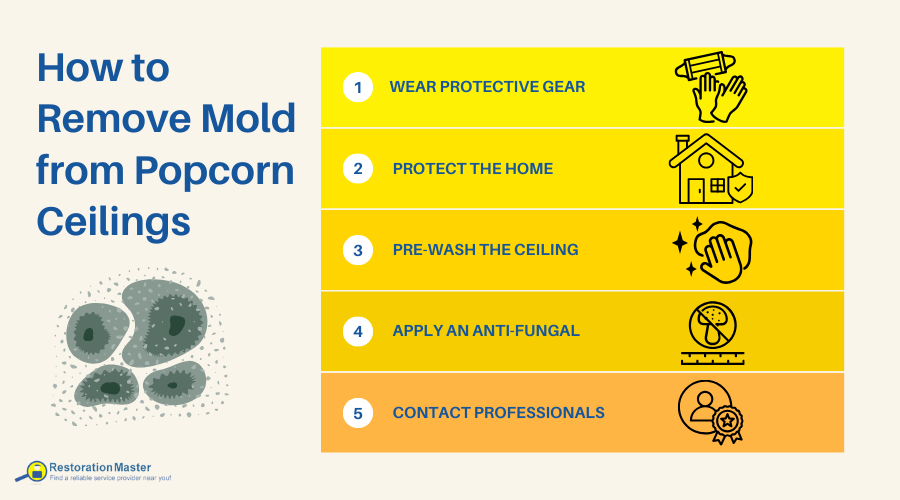
1. Wear Protective Gear
Before beginning a mold cleanup project, it’s important to wear protective gear. MoldMold is a type of fungus that grows in damp or humid conditi... More exposure causes health issues in people who breathe in the sporesSpores are microscopic reproductive units of fungi or mold t... More. Those suffering from respiratory issues or a weakened immune system are especially vulnerable to the hazards of inhaling moldMold is a type of fungus that grows in damp or humid conditi... More.
Homeowners are advised to wear wrap-around goggles, an OSHA-approved respirator, and nitrile rubber gloves. Airborne moldMold is a type of fungus that grows in damp or humid conditi... More sporesSpores are microscopic reproductive units of fungi or mold t... More can travel through the air and land on clothes, so the homeowner should wear disposable work clothes and shoe coverings to prevent cross-contaminationCross-contamination occurs when harmful substances, such as ... More.
2. Protect the Home
Just as moldMold is a type of fungus that grows in damp or humid conditi... More sporesSpores are microscopic reproductive units of fungi or mold t... More can attach to clothing and spread to other areas, airborne sporesSpores are microscopic reproductive units of fungi or mold t... More can travel to other parts of the house. Use a plastic tarp to protect the floors. Close vents so moldMold is a type of fungus that grows in damp or humid conditi... More sporesSpores are microscopic reproductive units of fungi or mold t... More don’t move through them during the mold removal procedure. Open windows if weather permits.
3. Pre-wash the Ceiling
Climbing a steady ladder, vacuum the ceiling. Then pre-wash the moldy areas of the popcorn ceiling with mild detergent and warm water. This step loosens the moldMold is a type of fungus that grows in damp or humid conditi... More sporesSpores are microscopic reproductive units of fungi or mold t... More from the ceiling and makes removal at the next step an easier task. Give the pre-washed ceiling ample time to fully dry.
4. Apply an Anti-Fungal
Spray an anti-fungal solutionA solution is a homogeneous mixture of two or more substance... More on the affected parts of the popcorn ceiling. MoldMold is a type of fungus that grows in damp or humid conditi... More removal products can be bought from hardware stores. However, mixing a homemade solutionA solution is a homogeneous mixture of two or more substance... More of bleach and water, pouring it into a spray bottle, and applying it to the ceiling is equally effective.
In case the home’s occupants are sensitive to bleach, alternative products can be used to dislodge the moldMold is a type of fungus that grows in damp or humid conditi... More. Distilled white vinegar successfully removes moldMold is a type of fungus that grows in damp or humid conditi... More, even at the roots. Or, combine baking soda and water for a powerful moldMold is a type of fungus that grows in damp or humid conditi... More removal solutionA solution is a homogeneous mixture of two or more substance... More. Undiluted hydrogen peroxide works, as well.
Give the anti-fungal solutionA solution is a homogeneous mixture of two or more substance... More at least a half hour to dry. Rinse the popcorn ceiling using a clean cloth dipped in water. Replace the water and exchange the cloth after every few wipes to prevent the spreading of moldMold is a type of fungus that grows in damp or humid conditi... More sporesSpores are microscopic reproductive units of fungi or mold t... More to other parts of the popcorn ceiling.
If moldMold is a type of fungus that grows in damp or humid conditi... More remains, repeat the anti-fungal applications and the rinses several more times. Residual sporesSpores are microscopic reproductive units of fungi or mold t... More may still linger on the popcorn ceiling. Tackle the issue by applying borate-based detergent and water. Once the solutionA solution is a homogeneous mixture of two or more substance... More has been applied, allow it to dry without rinsing it off.
How to Prevent Mold Growth on Popcorn Ceilings
Bathrooms built with popcorn ceilings are most vulnerable to mold growth, simply because of the constant moisture and humidityHumidity is the amount of moisture or water vapor present in... More. Despite this fact, homeowners can take steps to control the moisture levels in this area of the home and decrease the chances of moldMold is a type of fungus that grows in damp or humid conditi... More infestation on the ceilings.
Homeowners can improve the air ventilationVentilation is the process of exchanging or circulating air ... More in the bathroom by upgrading the exhaust vent, adding a dehumidifierA dehumidifier is a device that removes excess moisture from... More to the room, or opening windows. HumidityHumidity is the amount of moisture or water vapor present in... More may be further decreased by letting towels air dry in the bedroom or outside, instead of inside the bathroom.
A proactive step homeowners can take is to paint the bathroom ceilings and walls with mildew-resistant paint. The availability of spray-on versions makes it easy to apply to popcorn ceilings. The paint also contains anti-microbial, which prevent future moldMold is a type of fungus that grows in damp or humid conditi... More from recurring.
When Should I Seek Professional Help?
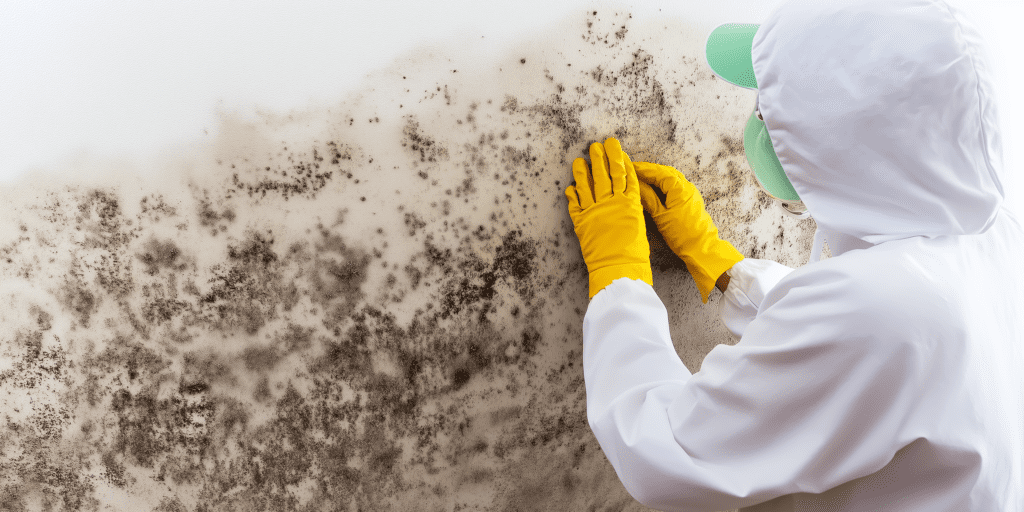
Whether the moldMold is a type of fungus that grows in damp or humid conditi... More grows on the popcorn ceilings or elsewhere, it is critical to the health and safety of the home’s occupants to remove it as soon as possible. Small infestations can be removed via a DIY route, but large colonies require the expertise of mold remediationMold remediation is the process of identifying, removing, an... More companies. It is important to call a mold removal company for all sizes of moldMold is a type of fungus that grows in damp or humid conditi... More growth, whether in a residential home or a commercial business. Remediation crews are certified and highly trained to locate and remove moldMold is a type of fungus that grows in damp or humid conditi... More from all types of surfaces, including popcorn ceilings.
Since moldMold is a type of fungus that grows in damp or humid conditi... More can be hidden behind walls or under carpets, the moldMold is a type of fungus that grows in damp or humid conditi... More must be detected. MoldMold is a type of fungus that grows in damp or humid conditi... More removal specialists utilize advanced equipment to pinpoint all traces of moldMold is a type of fungus that grows in damp or humid conditi... More. They use proven techniques and safe and effective cleaning products to eliminate the colonies.
Mold removal is just one step to deterring future growth. MoldMold is a type of fungus that grows in damp or humid conditi... More specialists also identify and repairRepair is the act of fixing or restoring damaged property, m... More the moisture source. Without a constant supply of water, moldMold is a type of fungus that grows in damp or humid conditi... More sporesSpores are microscopic reproductive units of fungi or mold t... More are unable to survive. Pros repairRepair is the act of fixing or restoring damaged property, m... More any leaks prior to beginning the moldMold is a type of fungus that grows in damp or humid conditi... More cleanup.

