How to Remove Mold from the Roof and Ceiling After it Rains
Rainy days and humidityHumidity is the amount of moisture or water vapor present in... More contribute to moldMold is a type of fungus that grows in damp or humid conditi... More growth on the roof and ceiling, especially when a home is riddled with undiscovered leaks. MoldMold is a type of fungus that grows in damp or humid conditi... More is a pervasive fungus and will colonize ceilings and rooftops that remain damp. Here’s how to remove mold ceiling from these areas after a downpour.

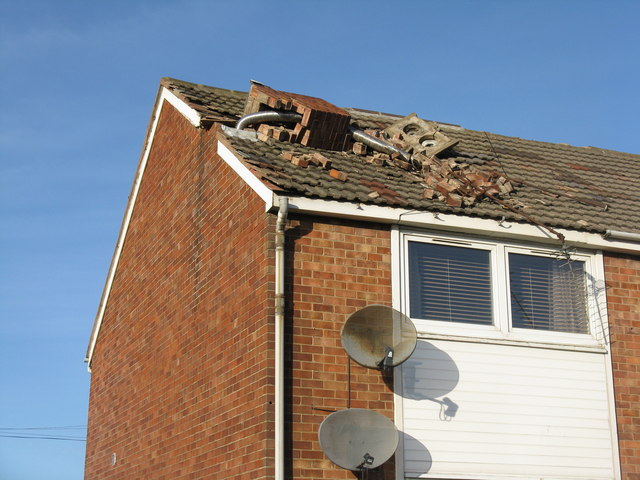
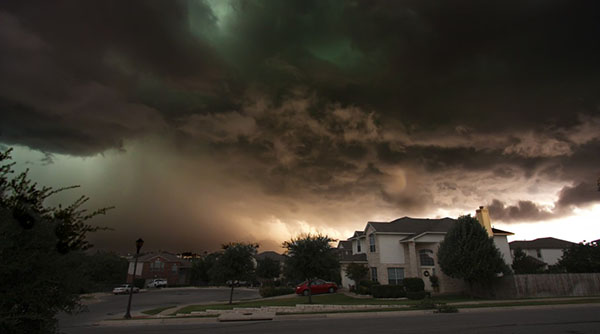
Fierce storms may loosen rooftop shingles. Loose shingles will, over time, be vulnerable to high winds. As wind gusts lift the shingles, rainwater has the opportunity to seep underneath them. A cracked, weakened roof develops gradually, eventually leading to leaks that enter the interior parts of the home.
A roof leak will prompt a homeowner to immediately begin rooftop repairs. While the roof will be fixed right away, a savvy homeowner should also be on the lookout for moldMold is a type of fungus that grows in damp or humid conditi... More growth along the roof and ceiling. The EPA confirms that a leaky roof can leadLead is a heavy metal that can be toxic to humans, especiall... More to a moldMold is a type of fungus that grows in damp or humid conditi... More infestation.
MoldMold is a type of fungus that grows in damp or humid conditi... More colonies have the potential to multiply on rooftop areas where moisture cannot escape. When air is unable to reach and dry rooftop crevices, moisture becomes trapped. In places that remain damp, moldMold is a type of fungus that grows in damp or humid conditi... More begins to grow. In fact, moldMold is a type of fungus that grows in damp or humid conditi... More develops within 24 to 48 hours after prolonged water exposure.
A few dark splotches along the roof or the ceiling underneath may seem harmless. However, moldMold is a type of fungus that grows in damp or humid conditi... More colonies are far from benign. Mold growth weakens structural materials, leads to rot, and eventually disintegrates the home. The home’s occupants can also suffer from moldMold is a type of fungus that grows in damp or humid conditi... More allergy symptoms.
Step 1: Identify areas affected by moldMold is a type of fungus that grows in damp or humid conditi... More
Cleaning up mold at its first sign is critical to home maintenanceMaintenance is the routine care, inspection, and repair of a... More. A homeowner can identify moldMold is a type of fungus that grows in damp or humid conditi... More due to roof leaks by visually inspecting the ceilings. A roof leak will cause circular brown or yellow staining along the ceilings. Furthermore, after a roof leak, inspect the attic for moldMold is a type of fungus that grows in damp or humid conditi... More growth.
Homeowners must be aware that visible moldMold is a type of fungus that grows in damp or humid conditi... More is just one part of the problem. Concealed moldMold is a type of fungus that grows in damp or humid conditi... More, or moldMold is a type of fungus that grows in damp or humid conditi... More that remains hidden to the untrained eye, can be equally destructive. MoldMold is a type of fungus that grows in damp or humid conditi... More can grow in the ceiling beams, drywall, insulationInsulation is a material used in buildings to reduce the tra... More, and anywhere else water damage has occurred.
Step 2: RepairRepair is the act of fixing or restoring damaged property, m... More the roof leak
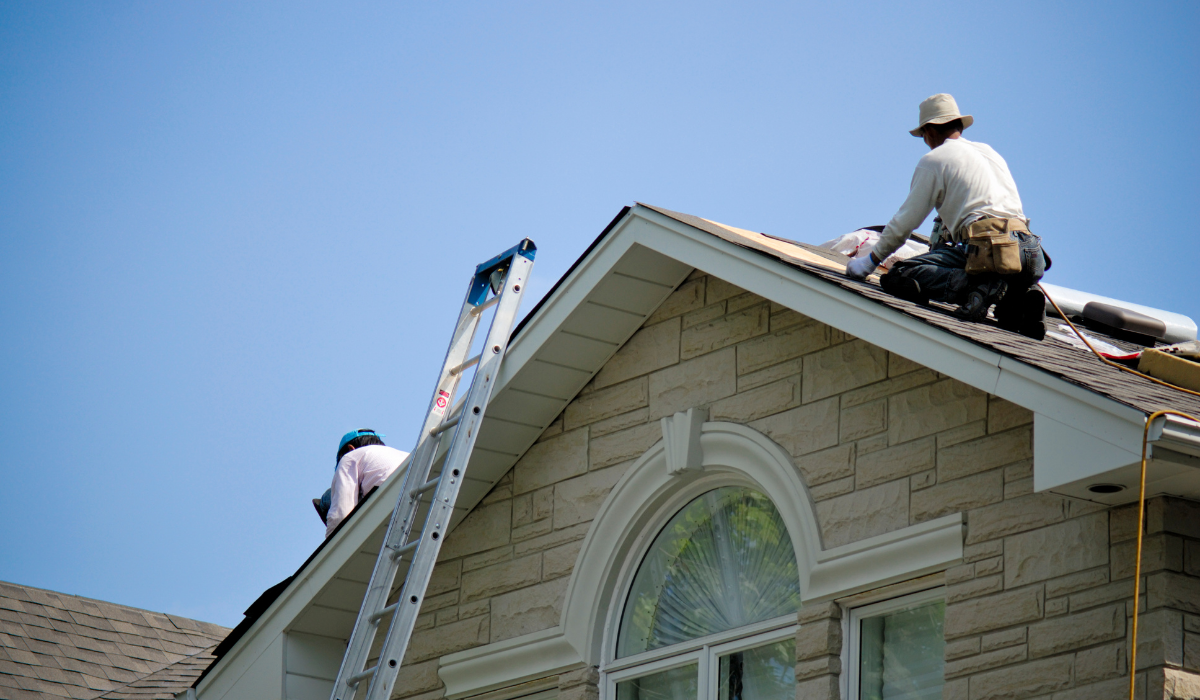
MoldMold is a type of fungus that grows in damp or humid conditi... More growth may be confined to a small area. Minor instances of moldMold is a type of fungus that grows in damp or humid conditi... More may be effectively removed by the homeowner. This DIY task first requires repairing the source of the water leak, in this case, the roof. Consult a professional roofing contractor to fix the rooftop leak.
Step 3: Apply an EPA-registered fungicide
Once the water leak has been repaired and no additional moisture has a chance to enter the home, apply a fungicide to the existing moldMold is a type of fungus that grows in damp or humid conditi... More colonies. Opt for an EPA-registered fungicide specifically formulated to remove moldMold is a type of fungus that grows in damp or humid conditi... More. A fungicide efficiently kills moldMold is a type of fungus that grows in damp or humid conditi... More systems directly at the spore.
Many fungicides are available in spray bottles, which is ideal for ensuring uniform coverage of the affected areas. Once applied, wait at least 15 minutes to allow the product to destroy the moldMold is a type of fungus that grows in damp or humid conditi... More at the root. Some moldMold is a type of fungus that grows in damp or humid conditi... More removers leave behind an antimicrobial coating to prevent future growth.
Step 4: Ventilate the area
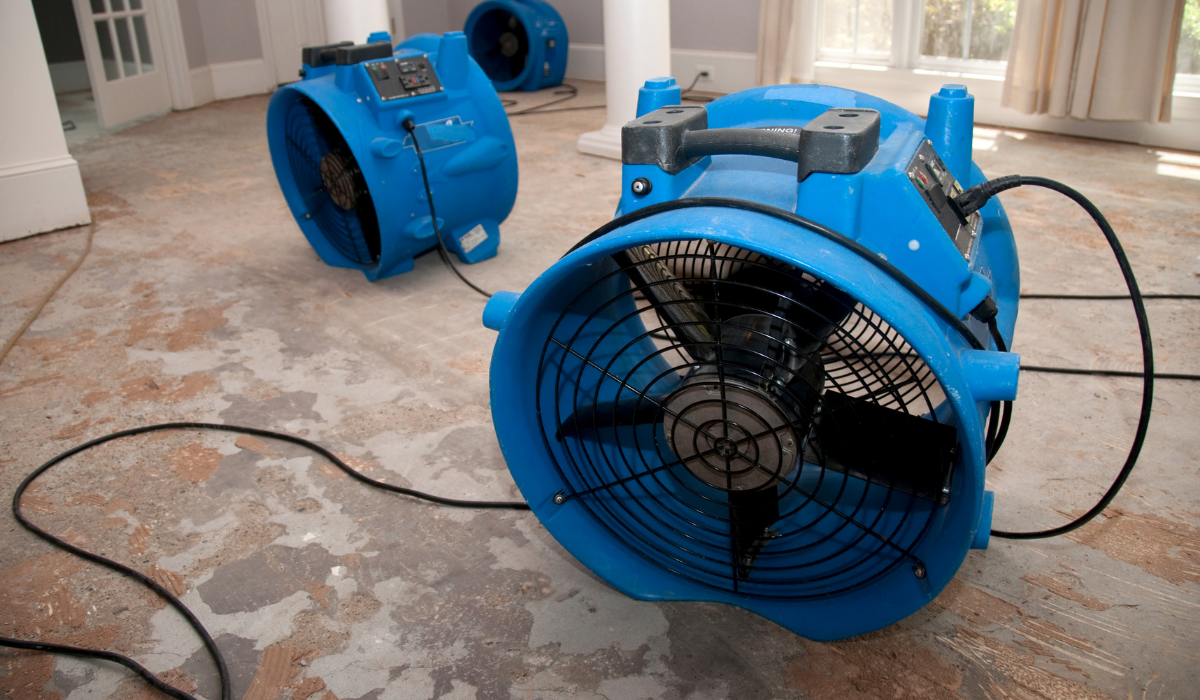
After allowing the fungicide to penetrate for its recommended time, physically scrape off the moldMold is a type of fungus that grows in damp or humid conditi... More from the surface of the ceiling. Adequate air ventilationVentilation is the process of exchanging or circulating air ... More is necessary at this point to thoroughly dry the attic. Natural airflow is one option, as is setting up heating and dehumidificationDehumidification is the process of reducing and controlling ... More equipment.
Step 5: Monitor the roof and ceiling
The homeowner should revisit the spaces affected by moldMold is a type of fungus that grows in damp or humid conditi... More to see if the growth has returned. Inspections should take place over the next few weeks. If the moldMold is a type of fungus that grows in damp or humid conditi... More has reappeared, repeat the abovementioned steps to eradicate all traces of roof and ceiling moldMold is a type of fungus that grows in damp or humid conditi... More growth.
Read 4 Things You Can Do to Prevent Water Damage for more information on restoring your home from water emergencies.
Step 6: Call in mold remediationMold remediation is the process of identifying, removing, an... More professionals
Interior moldMold is a type of fungus that grows in damp or humid conditi... More growth is a catastrophe, one that may require the expertise of skilled moldMold is a type of fungus that grows in damp or humid conditi... More cleanup professionals. If the ceiling or roof moldMold is a type of fungus that grows in damp or humid conditi... More continues to reappear despite cleaning efforts, a mold remediationMold remediation is the process of identifying, removing, an... Moreremediation companyA remediation company is a business specializing in cleaning... More is the next best step in a homeowner’s journey to eradicate the fungus.
In fact, calling in moldMold is a type of fungus that grows in damp or humid conditi... More cleanup specialists is advised, since moldMold is a type of fungus that grows in damp or humid conditi... More growth can extend far beyond what the homeowner can see. As mentioned, moldMold is a type of fungus that grows in damp or humid conditi... More can thrive behind the walls or other concealed spaces. Trained moldMold is a type of fungus that grows in damp or humid conditi... More abatementAbatement refers to the process of reducing, removing, or co... More experts have the equipment, knowledge, and skill to eliminate all moldMold is a type of fungus that grows in damp or humid conditi... More growth.
MoldMold is a type of fungus that grows in damp or humid conditi... More removal technicians contain the area to prevent moldMold is a type of fungus that grows in damp or humid conditi... More sporesSpores are microscopic reproductive units of fungi or mold t... More from contaminating other parts of the home. Removing a portion of a moldy ceiling, for example, can release a flurry of airborne moldMold is a type of fungus that grows in damp or humid conditi... More sporesSpores are microscopic reproductive units of fungi or mold t... More that will infiltrate the rest of the home—and increase the chances of moldMold is a type of fungus that grows in damp or humid conditi... More growing elsewhere.
Homeowners who are faced with a nasty case of moldMold is a type of fungus that grows in damp or humid conditi... More are urged to turn to experienced professionals. Mold remediation companies with a qualified team of IICRC certified technicians will return your moldMold is a type of fungus that grows in damp or humid conditi... More damaged property to its pre-loss condition quickly.
Roof leaks and the resulting moldMold is a type of fungus that grows in damp or humid conditi... More growth along ceilings are a common occurrence in geographical areas where precipitation is high. Winters in Tacoma, Washington, for instance, are often rainy—and moisture can enter the home through damaged roof shingles and cause an unwanted moldMold is a type of fungus that grows in damp or humid conditi... More infestation.
Professional technicians are capable of tackling moldMold is a type of fungus that grows in damp or humid conditi... More growth anywhere in your property, whether it is on the ceiling, behind the walls, under the carpeting, or hidden deep within the insulationInsulation is a material used in buildings to reduce the tra... More. Using high-tech equipment, they identify both visible and concealed moldMold is a type of fungus that grows in damp or humid conditi... More growth and remove it.
The first step is to assess the extent of moldMold is a type of fungus that grows in damp or humid conditi... More damage. They cooperate with and communicate their findings to your insurance company. The moldMold is a type of fungus that grows in damp or humid conditi... More cleanup process begins by carefully containing the affected areas to prevent cross-contaminationCross-contamination occurs when harmful substances, such as ... More. They remove the moldMold is a type of fungus that grows in damp or humid conditi... More sporesSpores are microscopic reproductive units of fungi or mold t... More and repairRepair is the act of fixing or restoring damaged property, m... More or restore all damaged surfaces.

