How to Remove Moss and Mold from Brick and Stone Pavers
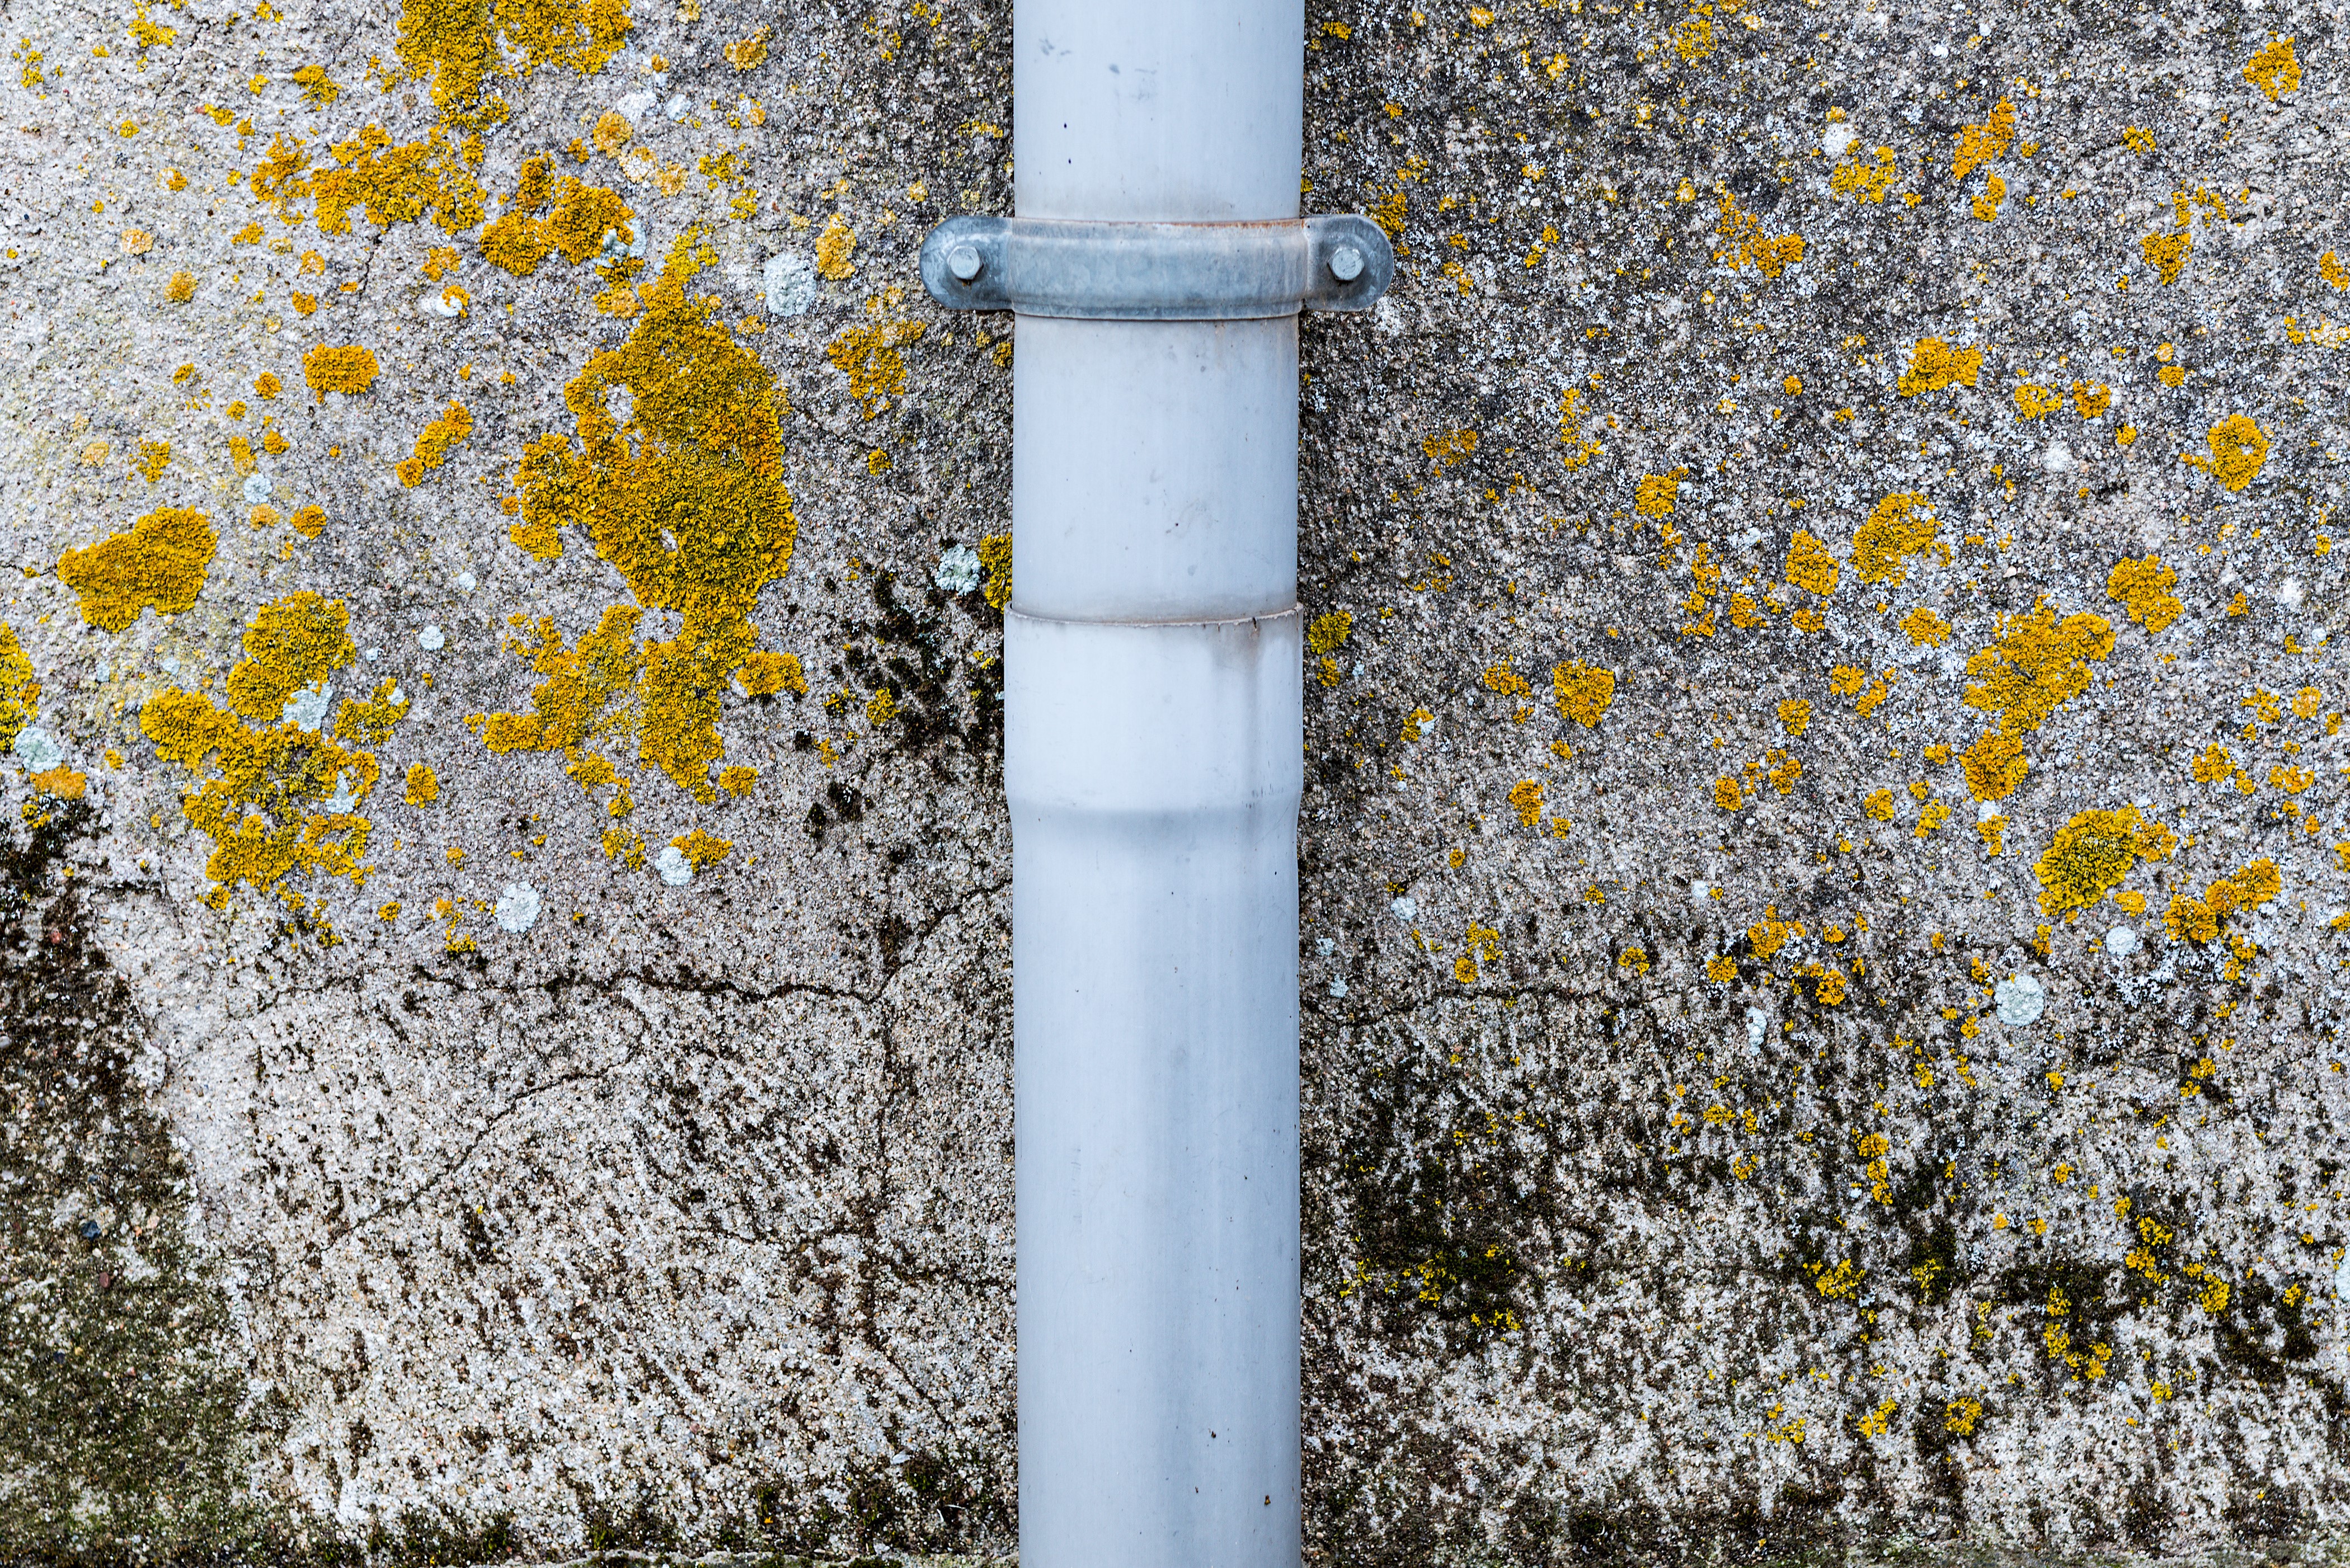
Moss, moldMold is a type of fungus that grows in damp or humid conditi... More, and mildewMildew is a type of fungus that grows on damp surfaces, typi... More can be unsightly when they settle on your brick and stone pavers. Removing them requires more than a simple power wash — it takes the right products, tools, and techniques to get rid of these stubborn growths. Fortunately, removing moss and moldMold is a type of fungus that grows in damp or humid conditi... More from your brick or stone pavers is completely possible using the steps outlined in this guide.
Step 1: Gather Your Materials
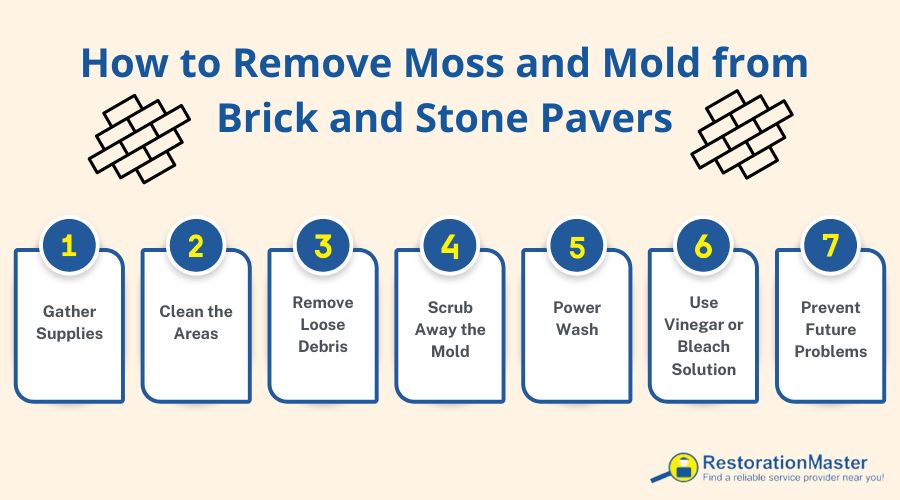
Before you start cleaning your pavers, make sure you have everything you need within easy reach. You will need the following materials: a small brush or scrubber, a bucket of water, a gallon of bleach solutionA solution is a homogeneous mixture of two or more substance... More (1 part bleach to 10 parts water), safety goggles, rubber gloves, and an old rag or spongeA sponge is a porous material used to absorb liquids or clea... More for wiping down.
Step 2: Clear the Area
When you’re getting ready to tackle a moss and mold removal project, one of the most important steps is to make sure that you’ve cleared the area of any obstructions such as plants or furniture. By doing this, you’ll give yourself enough space for proper maneuvering during the cleaning process. Also be sure to plan your cleaning project when there’s no chance of rain, as it’s best practice to clean areas with excess moisture outdoors once they are dry. If you want to minimize dryingDrying is the process of removing moisture from materials, s... More time and speed up the cleaning process, consider using an outdoor safe fan or heater to assist.
Step 3: Remove Loose Debris
Once you’ve gathered all of your materials, it’s time to start cleaning. Begin by removing any loose debris such as leaves or sticks that may be stuck in the cracks between your pavers, then brush away as much of the moldMold is a type of fungus that grows in damp or humid conditi... More as possible with a firm bristled brush or broom. If there are any areas that remain stubbornly stuck to the surface, then try using a plastic scraper to remove them. Be mindful not to damage the surface in your efforts.
Step 4: Scrub Away the Mold
Next up is scrubbing away the moss and moldMold is a type of fungus that grows in damp or humid conditi... More with your bleach solutionA solution is a homogeneous mixture of two or more substance... More mixture. Using your brush or scrubber—or even an old toothbrush—scrub vigorously until all of the moss and moldMold is a type of fungus that grows in damp or humid conditi... More are gone. If necessary, use additional bleach solutionA solution is a homogeneous mixture of two or more substance... More to help loosen up any stubborn spots. Make sure to wear safety goggles and rubber gloves while doing this step, as both bleach and moldMold is a type of fungus that grows in damp or humid conditi... More can be hazardous for your health without proper protection.
Step 5: Power Wash
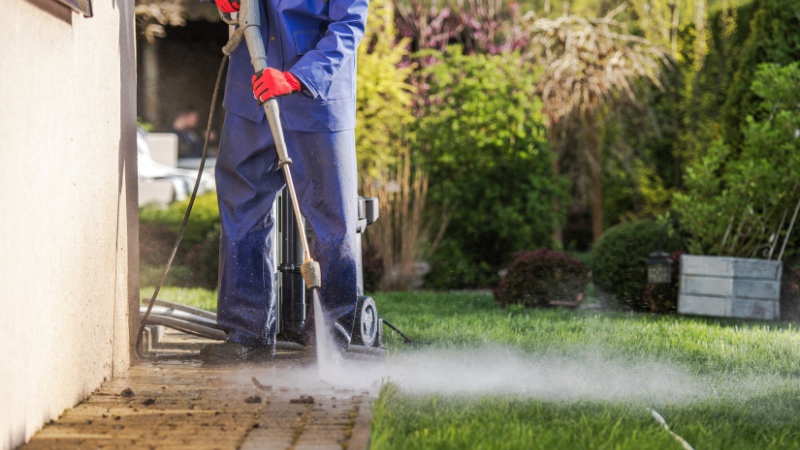
Once you have removed as much of the moldMold is a type of fungus that grows in damp or humid conditi... More as you can by brushing it away, it’s time to rinse off any remaining residueResidue is any leftover material, such as soot, dust, or che... More. For best results, pressure wash your pavers–you can use a pressure washer or garden hose to effectively remove leftover buildup. It is important to note that if you decide to go with the pressure washer route, sand will likely need to be reapplied between the pavers post-cleaning to restore anything that has come loose.
Step 6: Use a Vinegar or Bleach Solution
When pressure washing has not managed to get rid of all of the moldMold is a type of fungus that grows in damp or humid conditi... More, you may consider using either a vinegar or bleach solutionA solution is a homogeneous mixture of two or more substance... More to remove the rest. To make a vinegar solutionA solution is a homogeneous mixture of two or more substance... More, combine equal parts of hot water and vinegar in a spray bottle, then spray it over the affected area and let sit for five to ten minutes. Once the solutionA solution is a homogeneous mixture of two or more substance... More has had time to take effect, use a firm-bristled brush to scrub lightly before rinsing the area with water. Be sure to take care when handling the vinegar solutionA solution is a homogeneous mixture of two or more substance... More, as spills can cause burning sensations on skin.
Vinegar is a safe and effective moldMold is a type of fungus that grows in damp or humid conditi... More removal solutionA solution is a homogeneous mixture of two or more substance... More, but if this method doesn’t prove to be effective, then a heavier-duty weapon may be deployed: bleach. One cup of bleach mixed with a gallon of water should do the trick. Simply combine the bleach and water in a spray bottle and apply directly to the pavers. It’s important to note that using bleach can have detrimental effects on the environment and may stain some bricks or pavers it comes into contact with, so it’s always wise to try this technique on a less visible area before applying it onto a larger section of pavers.
Step 7: Prevent Future Problems
MoldMold is a type of fungus that grows in damp or humid conditi... More and algae can be problematic for any outdoor space, reducing the curb appeal of an area and potentially inviting more pests. PreventionPrevention refers to actions taken to reduce the likelihood ... More will prove to be much more effective than treatment in reducing the frequency of moldMold is a type of fungus that grows in damp or humid conditi... More growth in the future. The solutionA solution is a homogeneous mixture of two or more substance... More lies in improving drainage, making sure that the area has proper ventilationVentilation is the process of exchanging or circulating air ... More so that it can dry out when wet. This may require some changes such as pruning trees or shrubs above the area, relocating patio furniture to reduce shade, or finding ways of diverting water runoffRunoff is water from rain or other sources that flows over s... More so that floodingFlooding is the overflow or accumulation of water in areas t... More or pooling doesn’t occur. If done properly though, following these steps will go a long way toward keeping moldMold is a type of fungus that grows in damp or humid conditi... More and algae growth at bay.
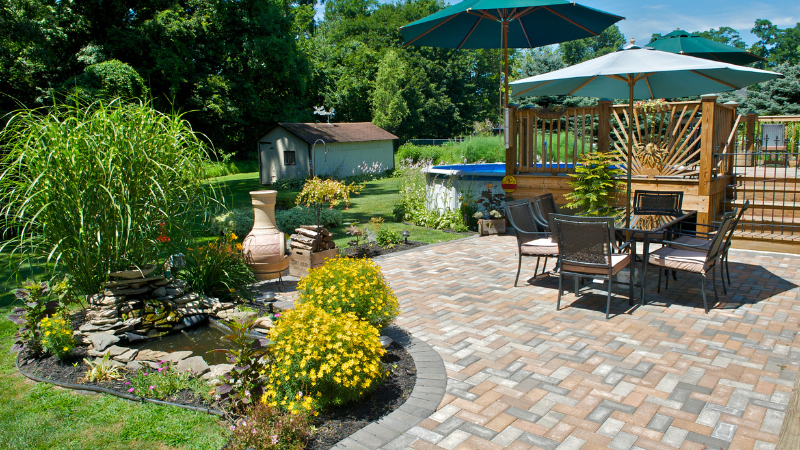
To further combat this deterioration and keep your outdoor space aesthetically pleasing, it is also important to seal your pavers. Sealing the paver surface prevents damage and stains, while at the same time maintaining its color. Sealing the surface is most effective when done immediately after a thorough cleaning.
Taking the time to properly clean and remove moss or moldMold is a type of fungus that grows in damp or humid conditi... More buildup on your brick and stone pavers can help keep your outdoor space looking great. Standard brick paver cleaning tacticsTactics are the specific methods or actions used to achieve ... More such as brushing, power washingPower washing is a cleaning method that uses high-pressure w... More, and applying a vinegar- or bleach-based solutionA solution is a homogeneous mixture of two or more substance... More are all important steps in maintaining healthy, beautiful pavers. Additionally, it is important to take preventative measures such as improving drainage and sealing the area to reduce the occurrence of moldMold is a type of fungus that grows in damp or humid conditi... More and moss problems later on. With due diligence and vigilance, you can ensure that your brick and stone pavers remain free from these nuisance issues over time. Knowing the specifics of how to do this will save you headaches down the road and make sure that both your driveway and walkways always look clean.
How to Clean Patio Brick and Stone Pavers
During the nice summer weather, patios become the center of attention as people spend lots of time enjoying them with family and friends during parties and cook outs. Therefore, it is important to maintain them, so they last as long as possible. The maintenanceMaintenance is the routine care, inspection, and repair of a... More process should begin before they start looking dingy. You should always maintain your patio brick and stone pavers by keeping them clean so that they are prepared for the weather and various elements that may cause them further damage.
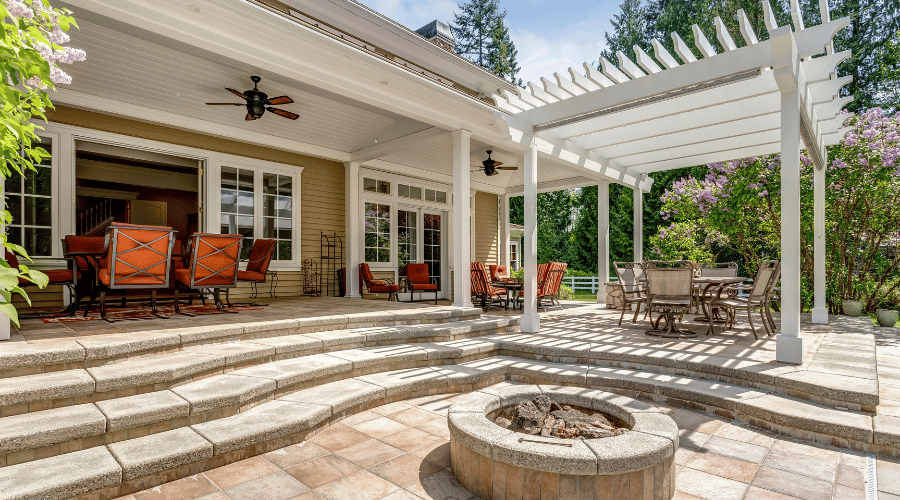
Spring Cleaning Natural Stone Patio Pavers
To keep your natural stone patio pavers clean, you will need to carve out some time and put in some work, but it will look great at the end. Making your natural stone patio shiny and bright again will make it worth the effort. Here are the steps you should follow:
- Remove all items from the patio:
Make sure to put away all grills, pots, furniture, and any other items you may have on your patio. These items should be moved to another area so that they are out of the way. This will help ensure that they do not get damaged.
- Sweep dirt with a broom:
Use a broom regularly to remove dust and debris from your pavers.
- Remove weeds:
It is important to get rid of any weeds from your patio by pulling them out. While you are pulling the weeds out, make sure that you do not damage the pavers or loosen them too much. By using a brush, you can scrub the pavers to remove any stuck-on moss.
- Get the patio wet:
You can use plain water to wet the whole patio area. After you wet it, use dish soap or degreaser and water along with a brush to scrub the pavers. Make sure you are gently scrubbing so that the surface does not get damaged.
- Keep rinsing and repeating:
You should rinse the patio and keep scrubbing and rinsing as needed.
- Check the pavers one more time:
Make sure to check if you need more sand between the pavers. Also, check for broken or damaged areas and call the professionals so they can be replaced.
- Patio sealing:
Once you are done with all the cleaning and repairing of the pavers, make sure to add some sealant. You can roll it on with a paintbrush with a long handle. You should add at least two coats and allow the sealant to dry between each of the coats.

Important Facts to Know About Cleaning Pavers
- You should always make sure that your pavers are installed well. If you notice that they have moldMold is a type of fungus that grows in damp or humid conditi... More, rotting, or that they are chipping, this means that they were not installed properly.
- Patio pavers should not be pressure washed as you can damage them beyond repairRepair is the act of fixing or restoring damaged property, m... More.
- If you would like to use bleach to clean patio pavers, make sure it is diluted. It is recommended to use the ratio of one cup of bleach per one gallon of water. You should only use the diluted bleach if you are unable to clean the pavers with dish soap. If you use too much bleach and do not dilute it properly, you can cause permanent damage.
- You should never use vinegar to clean your patio pavers as it will cause damage.
- If you notice that you have mold on your patio pavers even after cleaning, you may have to keep repeating the process until it is removed. It is always best to clean moldMold is a type of fungus that grows in damp or humid conditi... More with dish soap and warm water. You can take this mixture and pour it on the moldy surface and let it sit there for 5-10 minutes before scrubbing with a brush. If repeating the process does not remove the moldMold is a type of fungus that grows in damp or humid conditi... More, you will need to call the professionals to remove it.
Cleaning a Brick Patio
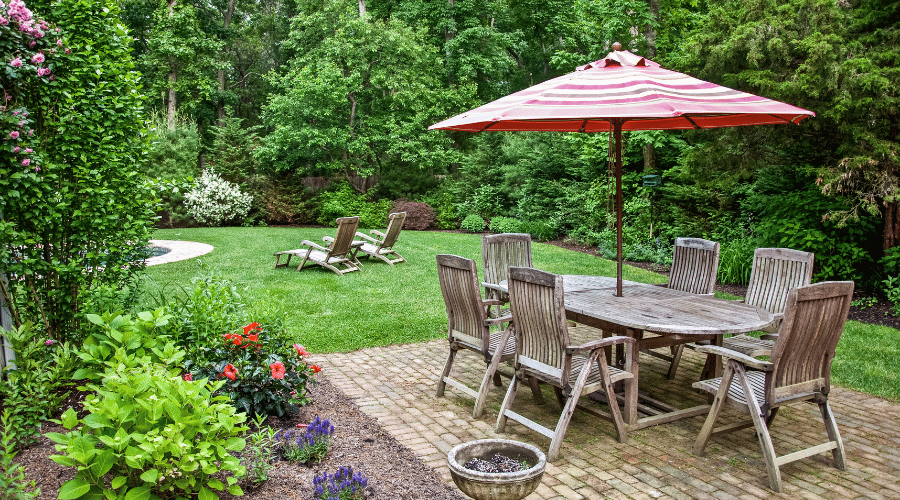
Since brick is a porousPorous describes a material that contains small openings or ... More material, it needs to be cleaned more frequently unlike natural stone which can be cleaned annually. This is because stains can be prevented from settling into brick if it is cleaned more often.
It is important to keep your patio clean all year long. This will help you in the long run as you will avoid ruining the surface of the patio to where it needs to be professionally cleaned. Here are a few things to keep in mind to make sure your patio does not get damaged:
- Your gutters should be cleaned regularly because water from clogged gutters can cause patio damage. Water can get into various areas and leave stains.
- Make sure to move your decorations such as plants and pots and other décor to avoid stains. If you do see that a stain has formed, make sure you clean it right away to avoid further damage.
- Never use wire or steel brushes to clean natural stone as you can damage it. Always use a soft brush and put in some elbow grease to remove stains.
- Be careful when using cleaning solutions to clean your patio. When you have a concrete patio for example, an acidic cleaner can cause damage. The same goes for limestone, sandstone, and even marble.
Cleaning your patio pavers regularly is important to keep them beautiful and help them last a long time. If you need help with maintaining your patio brick pavers, Pavestone Brick Paving Inc. can help. Whether you need repairs, re-sets, re-leveling, seal coating, cleaning, power washingPower washing is a cleaning method that uses high-pressure w... More or re-sanding, we are here to help.
If you would like to create a new patio at your home, Pavestone Brick Paving, Inc. can help. Pavestone is a patio contractor that provides patio building and installation services in Des Plaines, IL, and the surrounding areas. Pavestone will design your patio to fulfill your dreams as well as meet your needs. at Pavestone, contractors are Unilock and Rochester Authorized contractors, and there are many brick pavers and natural stone slabs to choose from to bring your dream patio vision to life.
For more complex issues regarding moldMold is a type of fungus that grows in damp or humid conditi... More and moss on your property, contact a professional mold removal company.

