How to Save Water-Damaged Papers and Photos
Salvaging water-damaged papers and photos is entirely possible, so don’t be discouraged when you discover that important documents and family photos have been affected by the water damage in your home.
If you are also looking for how to save a wet book, we can provide tips for how to keep your favorite novel’s pages intact. FloodingFlooding is the overflow or accumulation of water in areas t... More and water damage don’t have to destroy the most personal parts of your home.
Saving Paper from Water Damage
There are plenty of important papers that need saving from their watery fate:
- Birth certificates
- Marriage certificates
- Letters
- Tax returns
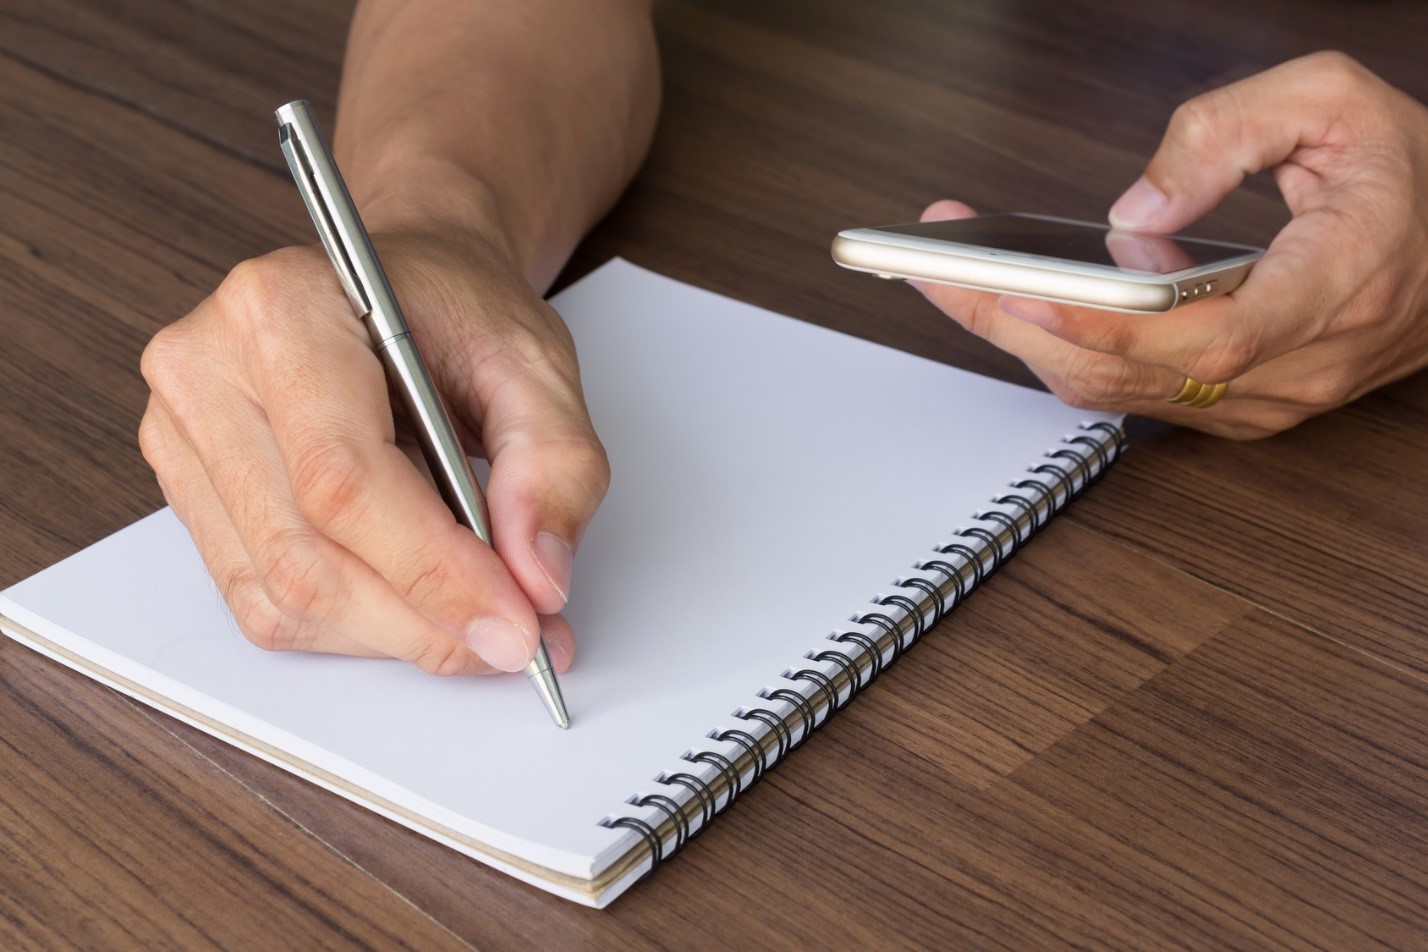
Create a list of all the documents you want to save
For salvaging immediately
To avoid replacing (or losing forever) these documents, follow these simple and easy steps for salvaging damp and wet paper from water damage:
- Carefully move papers to a dry area. It is essential to remove papers from the water as soon as possible.
- Place individual sheets onto plain paper towels and put into direct sunlight. Avoid using paper towels with designs, so as not to absorb the print onto your documents.
- To dry books, place paper towels in between the pages and lay the book flat to give its pages room to breathe. It would be unreasonable to expect you to put a paper towel in between every individual page, so space it out to every 20 pages or so.
- Place a fan near the papers but face it up and away. This is a slow process, but it is necessary to properly dry your papers. Use a real fan, not a hairdryer or other substitute.
- Place paperweights on the edges of each paper to prevent curling.
- Replace damp or wet paper towels regularly with dry ones to speed up the dryingDrying is the process of removing moisture from materials, s... More process.
For salvaging later
These steps will help you save water-damaged papers if you take immediate action, but what if you are unable to start the dryingDrying is the process of removing moisture from materials, s... More process right away? Luckily, you have options, too: Simply put the wet documents into a Ziploc bag and freeze them. This prevents the paper from deteriorating or being infected with mold.
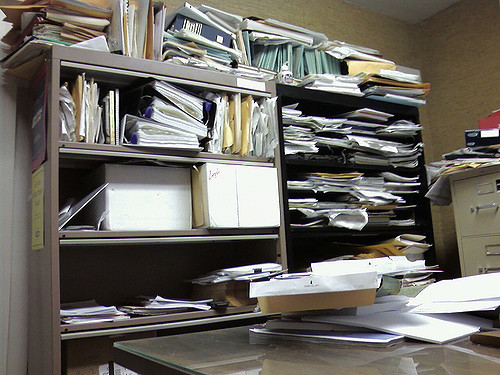
Keep your books and papers on high ground to avoid water damage
Saving Photos from Water Damage
There are several different kinds of photos around the average person’s house and each one requires a different dryingDrying is the process of removing moisture from materials, s... More method:
- Loose photos
- Photo albums
- Framed photos
Air dryingDrying is the process of removing moisture from materials, s... More is effective for most photographs and pictures, but it is good to know the details of how each specific photo ought to be handled. For example, individual photos are much easier to dry than photos that must be removed from plastic album covers or picture frames.
Saving loose photos
Loose photos have an advantage because they are likely already separated and you can go right into salvaging:
- Carefully move photos to a dry area. It is essential to remove photos from the water as soon as possible.
- Start with photos that have no negatives or have negative damage.
- Gently clean photos in clear, cool water to remove dirt. Be careful to not rub the images and replace the water frequently.
- Place individual photos face-up onto plain paper towels and keep away from direct sunlight. Avoid using paper towels with designs, so as not to absorb the print onto your pictures.
- Place paperweights on the edges of each photo to prevent curling.
- Replace damp or wet paper towels regularly with dry ones to speed up the dryingDrying is the process of removing moisture from materials, s... More process.
Like papers, these steps will assist you if you mean to begin the dryingDrying is the process of removing moisture from materials, s... More process right away, but if not, you can freeze your photos in a Ziploc bag and dry them later.
Saving photo albums
DryingDrying is the process of removing moisture from materials, s... More photos in albums is the same process as above, but a few steps must be taken beforehand to isolate the photos:
- Carefully move photo album to a dry area. It is essential to remove photos from the water as soon as possible.
- Carefully remove photos from the wet album covers.
- If the photos are stuck together, carefully pull them apart. It is important to separate wet photos, or they will bleed into one another and ruin the image.
- Do your best not to touch the wetness on the photo’s surface.
When finished, begin the contents restoration process listed above for dryingDrying is the process of removing moisture from materials, s... More loose photos.
Saving framed photos
Again, dryingDrying is the process of removing moisture from materials, s... More photos in frames is the same process as above, but they need to be removed from their frames first:
- Try to save your framed photos right away, while they are still wet. Once they dry, it becomes much harder to separate them from the glass.
- Remove the back of the picture frame.
- Carefully remove the photo from the frame and follow the steps for air dryingDrying is the process of removing moisture from materials, s... More loose photos.
- If the photo is stuck to the glass, do not attempt to force them apart. Dry the photo as is with the glass facing down.
Contact Water Damage Restoration Professionals
FloodingFlooding is the overflow or accumulation of water in areas t... More and water damage can wreak havoc on personal belongings, but papers and photos can be salvaged following our simple steps. You can do the dryingDrying is the process of removing moisture from materials, s... More process yourself or call a professional photograph conservator if you have more extreme water damage.
It is important to save all you can after a flood, especially those personalized items that carry sentimental value. Once you have saved the papers and photos important to you, call a water damage restoration professional to restore damage from furniture and other structures in the house.
These professionals also provide content cleaning and pack-out services that will help to restore your personal items and furniture to their original condition. This process can be conducted on-site or at their facility if the condition of the property is not suitable for proper content cleaning. After they are cleaned, they will remain in climate-controlled storage and delivered to your property, via pack-outPack-out is the process of carefully removing and transporti... More services, once the restorationRestoration is the process of returning a property to its pr... More service is complete.

