How to Clean a Hoarder’s House – Hoarding Cleaning Checklist
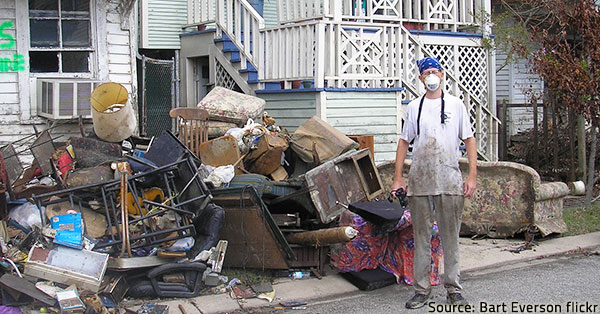
Cleaning a hoarder’s home is always difficult to deal with.
Going through a hoarder’s stuff is somewhat similar to a scavenger hunt, only without the fun usually involved in the game. You may find some valuable items in the hoard but instead of being thrilled you will be sad and sorry for the person suffering from a severe anxiety disorder that prevents him/her from assessing the true value of his/her possessions, making informed decisions, and having a normal lifestyle. The affected individual will be most probably a friend or relative of yours, so the cleaning process will not only be very time-consuming and exhausting, but also rather emotional and difficult for you to deal with.
There are several crucial steps to take when cleaning a hoarder’s home in order to achieve a favorable outcome of such an overwhelming endeavor. To clean a hoarder’s home, make sure you:
- Assess the situation
- Form a cleaning strategy
- Gather needed supplies
- Sort hoarded items
- Clean and restore the home
Assess the Situation and Create a Strategy
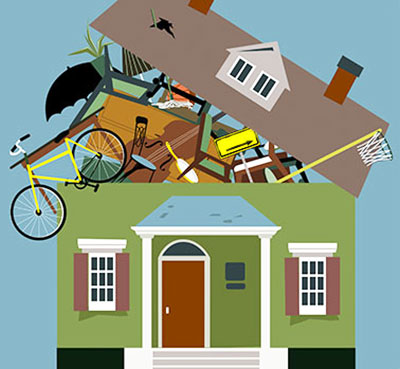
If the clutter in the affected person’s home has not yet turned into a hoard, you can still take appropriate measures and prevent greater troubles.
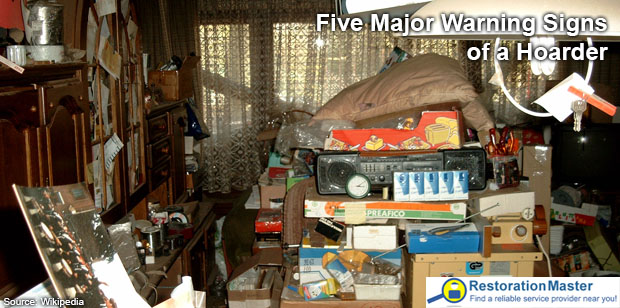
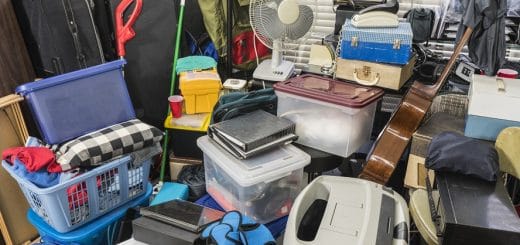
Hoarders lack the ability to classify items according to their actual value, so they tend to accumulate large numbers of useless things and never throw any of them away out of fear of losing something important. The resulting piles of junk quickly build up to monstrous proportions, blocking most of the living space in the hoarder’s home and rendering normal everyday activities, such as cleaning, cooking, etc. impossible. Besides, the accumulated stuff harbors moldMold is a type of fungus that grows in damp or humid conditi... More and bacteria growth, provides shelter to various kinds of pests, and poses fire hazards. Quick and efficient measures are required to restore the hoarder’s home to safe living conditions but you need to approach the delicate situation with great patience and compassion in order to achieve satisfactory and sustainable results.
- Address the hoarder – without a doubt, your greatest concern when faced with the difficult task of cleaning up a hoarder’s house will be how to help the affected person overcome his/her anxieties and resume a normal daily routine. Decluttering and sanitizing the premises will restore the healthy living conditions in the hoarder’s home but will not restore his/her life. You need to earn the trust and respect of the affected individual first and convince him/her to actively participate in the cleaning process and keep his/her home neat and tidy in the future. Special therapy treatment programs have been recently developed to help people with hoarding symptoms but your considerate and solicitous care is of paramount importance for improving the condition of a close friend or relative suffering from a hoarding disorder. Of course, if you are about to clear a hoarder’s home after the affected person has already passed away, this aspect of the hoarding cleanup will no longer be relevant;
- Secure help – the laborious process of cleaning a hoarder’s home is too difficult to perform on your own. Not only are there many strenuous tasks to complete (removing large piles of garbage, repairing property damage, cleaning intensively, organizing the hoarder’s items, etc.), but you will also have to make a number of difficult decisions concerning the fate of specific items of sentimental value, documents, etc. Enlist the help of close friends or family members to help you deal with all the aspects of hoarding cleanup in a quick and efficient manner. However, keep in mind that many threats may lurk in the home of a hoarder (biological contaminantsBiological contaminants are harmful organisms or substances,... More, fire hazards, structural collapse, etc.) and consider your own safety first. In case of excessive moldMold is a type of fungus that grows in damp or humid conditi... More, animal waste, pest infestations, and other risky circumstances present in the hoarder’s home, call professional hoarding cleaning services to take care of the dangerous situation and complete the job quickly and safely. Hiring experienced cleaning services for hoarders will ensure your peace of mind and will save you much time and nerves. You can receive more detailed information and learn the cost of cleaning a hoarder’s home by contacting hoarding cleanup specialists in your area;
- Create a plan – assess the situation carefully, prioritize the work that needs to be done, figure out what you are going to need and how much time each specific task will take, and decide if you will take advantage of hoarding cleanup services or will try to manage on your own.
If you are up to the challenge, our valuable tips on cleaning a hoarder’s home will guide you through all the steps of the arduous cleaning process.
Protect Yourself
As already mentioned, you need to ensure your own safety first. Get hold of disposable gloves, dust masks, and goggles to avoid exposure to moldMold is a type of fungus that grows in damp or humid conditi... More, parasites, and other health concerns that may be present in a hoarder’s home. Wear sturdy shoes and a hard hat when you enter the house and make sure you have:
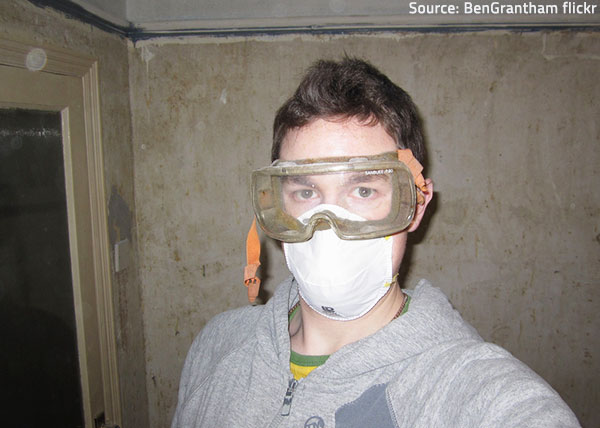
Safety should be your top concern when cleaning a hoarder’s home.
- a fire-extinguisher – the hoarder’s stuff may contain flammable materials and they can easily catch fire while you are inside;
- a repellent spray – when you disturb the hoard, you may find out that it has given shelter to a number of pests;
- a flashlight – you need to be able to see clearly in every nook and cranny of the hoarder’s home;
- a first-aid kit – to disinfect and dress accidental wounds. Don’t forget your allergy meds and some pain relievers as well.
Be careful for sharp objects (knives, broken glass, etc.) that may hurt you and immediately call the professionals if you find evidence of bio-hazardous materials.
Gather Supplies
You will need appropriate cleaning equipment in order to remove the trash and disinfect the premises, as well as some tools for disassembling or repairing certain items. Take lots of heavy-duty trash bags with you, as well as some empty boxes, buckets, universal cleaning agents and disinfectants, mops, sponges, wet wipes, brooms, a dust pan, a step ladder, a vacuum cleaner, a shovel, paint and Lysol, a set of hand tools and anything else you find useful under the circumstances.
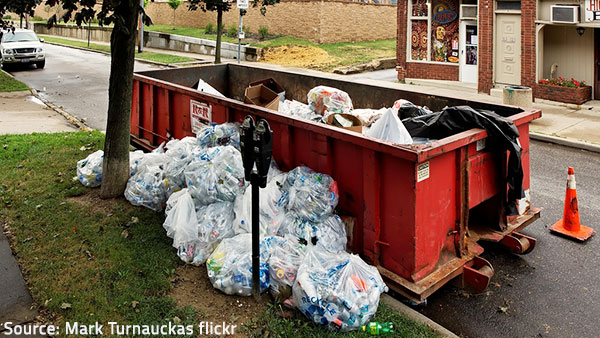
You will need a large dumpster to dispose of all the hoarder’s junk that has accumulated over time.
Don’t forget to get a dumpster as you will need a place to put all the garbage and damaged items you need to get rid of. You can rent a large dumpster from the city sanitation services and have it hauled off and disposed of for a small extra fee.
Prepare a Suitable Staging Area and Secure the Exits
You will need some free open space (a staging area) to temporarily put the contents of the hoarder’s home but most probably the rooms, porches, attics, and basements will be so cluttered that working there will be impossible. So, make sure you have cleared the outside area first to provide room for sorting out and organizing the hoarder’s items (if the weather is fine, of course – otherwise, you will have to find an appropriate covered area).
Keep in mind that the doors may be partially (or fully) blocked and venturing inside without having secured a safe escape route out is very risky. If a fire breaks out, for example, you may be trapped and unable to leave the property in time. So, secure an exit and start removing the trash and debris from the nearest room first. Pile all the salvageable items in your staging area to deal with them later.
How to Start Cleaning a Hoarder’s House
Once you have secured your safety and prepared everything necessary, it’s time to begin cleaning the hoarder’s home:
Choose a Small Room to Begin With
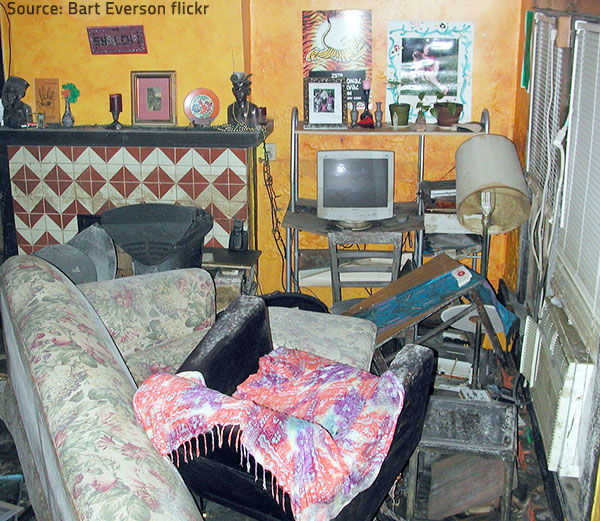
Go one room at a time and make sure none of the accumulated trash and/or clutter remain inside.
Be warned that many hoarders seriously neglect sanitation, which can leadLead is a heavy metal that can be toxic to humans, especiall... More to health hazards, especially in the bathroom and the kitchen. So, these areas should be thoroughly cleaned out and sanitized at the earliest opportunity.
You are recommended to start with the bathroom, as you will need free access to clean running water and soap. Besides, you can finish the task really quickly. There is no chance of finding a valuable item in the bathroom, so just get rid of all the expired toiletries and half-used personal care items, old towels and filthy bathroom fixtures. Give the bathroom surfaces an overall sanitization (you’ll clean better later on) and move on to the kitchen. Immediately remove any food, food remains and food containers, as well as obvious trash, to avoid the risk of infections and take all the kitchen items to your staging area where they can be categorized and cleaned later on. Clean a place where you can sit and rest or have a snack.
Move on to another room but leave closets and other storage areas for last as they will be particularly challenging – extremely disorganized and overflowing with stuff.
Empty the Rooms
Get rid of all the trash in a room first (not only obvious garbage but also items that are too damaged or too filthy to be used again). Be sure to check on local ordinances for handling stuff that can’t go directly in the trash, such as medicines, fuels, explosive substances, oil-based paint, etc. Put aside materials that can be recycled and safely dispose of the others.
Work from the top to the bottom – take out the items stacked up on tables, beds, chairs, etc. first and work down to the floor. Look through pockets and purses to check for cash or jewelry. Remove all the clutter from the room and even consider temporarily moving large furniture and appliances, so that you can thoroughly clean the premises.
Sort out the Salvageable Items
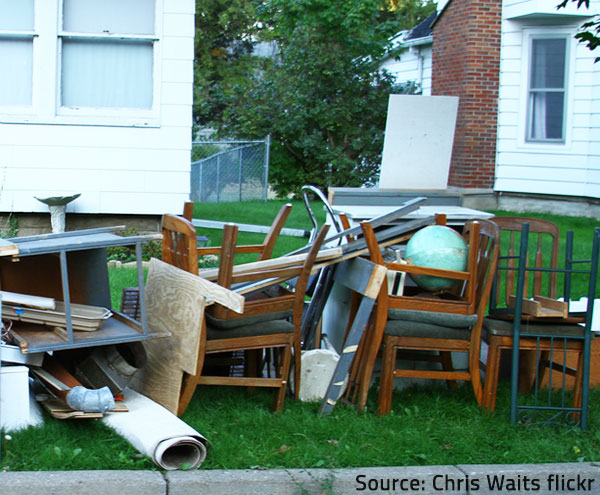
Sort out and classify the hoarder’s stuff into three groups – useful items you are going to keep, usable items you are going to donate and useless items you are going to throw away.
When you have disposed of all the useless stuff, it’s time to address the piles of items that might be used again. Separate them in groups of similar items and decide which of them you’d like to keep and which ones you are going to donate. Be very careful when browsing old papers as receipts, life insurance policies, bank account numbers, family photographs and other important documents may be mixed with old letters, magazines, newspapers, etc.
Needless to say, you will preserve all the valuables and family heirlooms, as well as items of high sentimental value, documents, artwork, and anything else that you may actually need. Just make sure that everything you are going to keep or donate is thoroughly cleaned and safe to use.
Most charities will come to get your donations, but don’t forget to contact them beforehand and gather relevant information – what kind of items they need and what they cannot accept, how to arrange free pick-up, etc. Keep any papers you receive from charity organizations, as you may be eligible for tax deduction when you donate to charity.
Repair and Deep Clean the Property
When the house is free of trash and clutter, you can finally begin the intensive cleaning. This will be a very time-consuming and laborious process.
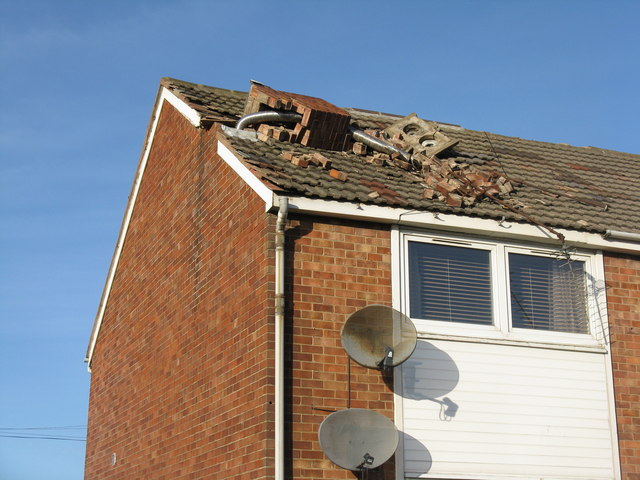
If any repairRepair is the act of fixing or restoring damaged property, m... More works need to be done, have them completed first. Any major restorationRestoration is the process of returning a property to its pr... More or renovation projects should be performed by certified and experienced specialists, of course. Contact professional cleaning and restoration services in your area to ensure efficient mold remediationMold remediation is the process of identifying, removing, an... More (if necessary) and to have the premises properly dehumidified, deodorized, and restored to an excellent condition.
If there is no structural damage, at least consider repainting the walls and the ceiling and re-polishing or re-carpeting the floors before the home is ready to be moved back into.
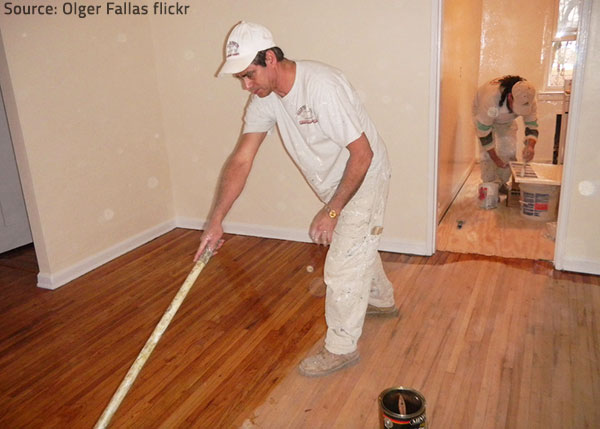
Thorough cleaning is required to restore the hoarder’s home to a good condition.
If you will be cleaning the hoarder’s home without professional assistance, start with the ceilings and ceiling fans and move on to walls, windows, and any furniture left in the room. Make sure the entire place is properly disinfected, including fan blades, cabinets, closets, window sills, baseboards, toilets, bathtubs, showers, etc. Scrub the floors and wash or replace the curtains and the area rugs.
Thoroughly clean and disinfect any furniture pieces and appliances before moving them back to their rightful places and organize all the useful household items you have preserved in a neat and tidy manner.
If the hoarder will be moving back to his/her home after the cleanup help the affected person maintain a clean and clutter-free living space – create an easy-to follow maintenanceMaintenance is the routine care, inspection, and repair of a... More plan, visit often, and provide further assistance if necessary.
If the property is going to be sold or leased out to tenants, you will be able to make a good deal after the cleanup, as the hoarder’s home will be completely restored to an excellent condition.

