4 Essentials for Tarping Your Roof After a Storm Damage
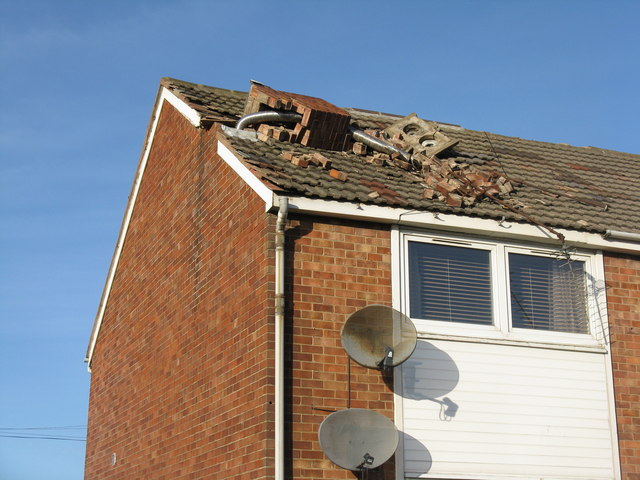
Roof damage caused by a hurricane or any other severe storm can be a highly stressful situation that requires homeowners to act quickly to prevent further defacement. Using a tarp on your rooftop to stop water from coming in should be done carefully and as soon as possible after the puncture is discovered. A continuously leaky roof allows water to seep into your home’s foundation and other areas that are susceptible to moldMold is a type of fungus that grows in damp or humid conditi... More and rot.
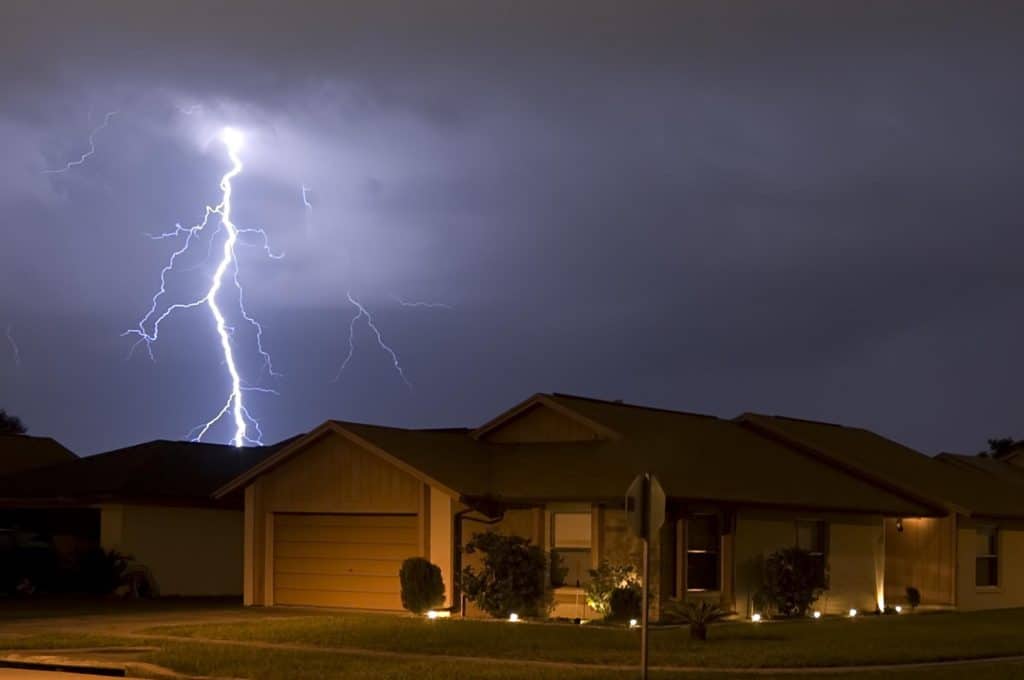
Tarping your rooftop will help protect furniture and other belongings in your home from water damage. There are a few things to keep in mind when using a tarp to seal a roof leak, and safety should be your first priority when tackling this endeavor.
The Best Time to Tarp a Roof
Attempting to secure a tarp over a leaking rooftop should never be done during a storm or while the roof is still wet. If the roof is sunken or has a steep pitch, it can potentially cave easily, and adding additional weight is not recommended. The tarp is also slippery when wet and shouldn’t be stepped on when securing it to the roof.
Required Items Needed to Secure a Tarp
Having the required items needed to secure the tarp to your roof is necessary before starting the project. In addition to a woven plastic tarp, you’ll need at least four 2 x 4’s and either multiple 3 ¼ inch nails or a staple gun. Other materials that would be helpful include a utility knife, a hammer, work gloves, and safety goggles.
Recruit a Spotter
If a leaking roof needs to be covered immediately, make sure to involve a second person or professional to help spot problem areas and serve as a spotter when climbing onto a rooftop. Safely accessing your roof is a difficult task that must be done with extreme caution. Using scaffolding is the best way to do so and is much safer than using a ladder. An assistant can also be helpful in holding the tarp in place while attaching it to the roof and the 2 x 4’s.
How it’s Done
Pinpointing the specific problem area should be completed before installing the tarp. Checking for water damage in crawl spaces, and attics are all good places to begin your inspectionInspection is the careful examination and assessment of a pr... More inside the home. Once on the rooftop, be sure to remove all debris in order to inspect thoroughly. Missing shingles and panels, dented roof vents, and broken tiles are all signs of roof damage that will leadLead is a heavy metal that can be toxic to humans, especiall... More you to the right spot where the tarp should be connected. Once the problem area is located, measuring the region is critical, and the tarp should hang at least three feet over the ridge so that water doesn’t collect.
Before laying down the tarp, cover the compromised area with wood and screw it into place.
The best way to secure a tarp to your roof is to nail (or staple) it to a 2 x 4, which should be at least one foot longer than the tarp width. Once secured, use the 2 x 4 to roll the tarp to create a tight, clean fit. Then, connect the 2 x 4 to the roof. Repeat this step for each side of the tarp. For the portion hanging off the roof, you can attach the 2 x 4, roll (as before), and then attach it underneath the eave of the house.
In most cases a better option is to hire a local restoration company that provides board up and tarping services.
Tarps will last about 90 days on top of a roof and help to prevent further damage, but a qualified roofing professional will be needed to assess the total damage and restore your roof’s permanent structureStructure refers to the framework or components of a buildin... More.

