Can You Tile Over Drywall Compound?
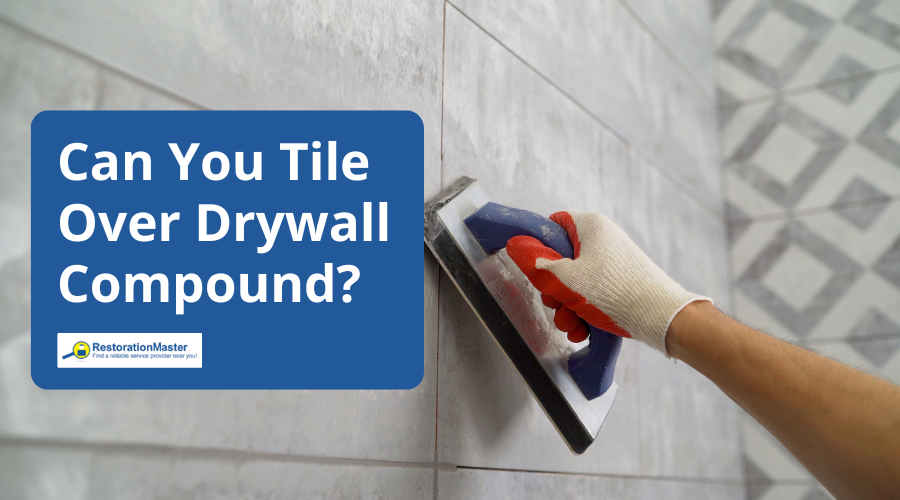
When it comes to home improvement projects, tiling is a popular choice for adding both function and aesthetics to walls and floors. However, many DIY enthusiasts wonder if they can lay tiling over drywall compound. This home improvement project is possible with the right preparationPreparation is the steps taken to ready a property, equipmen... More and installation. This blog will walk you through the essential steps to properly lay tile over drywall compound for a seamless application.
Can You Tile Over Fresh Drywall Compound?
It is important to note that it is not recommended to tile over fresh drywall compound. If the compound is not fully dried and cured before applying tiles, the bonding between the tiles and the wall will be poorly bonded, resulting in loose tiles over time.
Depending on the thickness of the application, room temperature, and humidityHumidity is the amount of moisture or water vapor present in... More levels, drywall compounds can take anywhere from 24 to 48 hours to fully dry. In areas with high humidityHumidity is the amount of moisture or water vapor present in... More, the dryingDrying is the process of removing moisture from materials, s... More time can be extended. Once the compound is dry, it is suggested that the compound be sanded to prevent imperfections or bumps. Allowing the compound to dry completely ensures a solid surface for the tiles to be put on.
What Are Some Areas Where I Can Tile Over Drywall Compound?
As long as the drywall compound is properly prepped for tiling, it can be done in many rooms. Tiling over drywall compound is often recommended where water directly meets the tiles. Kitchen backsplashes, for instance, keep water and cooking oil from staining the walls.
Areas that have exposure to consistent humidity should not have tiling in them, as the humidityHumidity is the amount of moisture or water vapor present in... More can cause the surface beneath the tiles to weaken. Tiling over drywall compound is a doable DIY task, but should be handled carefully to prevent future problems.
How to Tile Over Drywall Compound
To ensure a durable and long-lasting installation, tiling over drywall compound requires careful preparationPreparation is the steps taken to ready a property, equipmen... More. Tiling over drywall compound requires a few tools. In addition to protective eyewear and a mask, the following equipment will come in handy: level, spongeA sponge is a porous material used to absorb liquids or clea... More, square, tile spacers, standard tile cutter (in the event the tiles need to be cut to exact specifications), straightedge, margin trowel, and bucket. Here are some steps suggested by our restoration specialists to ensure the proper installation.
1. Coat the Drywall
Apply a joint compound, also known as drywall mud, once the surface of the drywall is clean. Drywall mud is a mixture primarily containing gypsum and limestone and gives the drywall a seamless appearance. A thin coating is sufficient. Give the joint compound (or drywall mud) time to dry.
While drywall mud is handy for installing tiles on damaged drywall, it can also be used to repairRepair is the act of fixing or restoring damaged property, m... More small holes or cracks in the drywall. The joint compound is available in four different types: all-purpose compound, taping compound, topping compound, and quick-setting compound.
DIYers will find an all-purpose compound, which is useful for skim coating and texturing, and easy to use when tiling drywall. Taping compound is difficult to sand but makes the drywall more resistant to cracks. The topping compound does not come in a pre-mixed form. The quick-setting compound gets the job done fast.
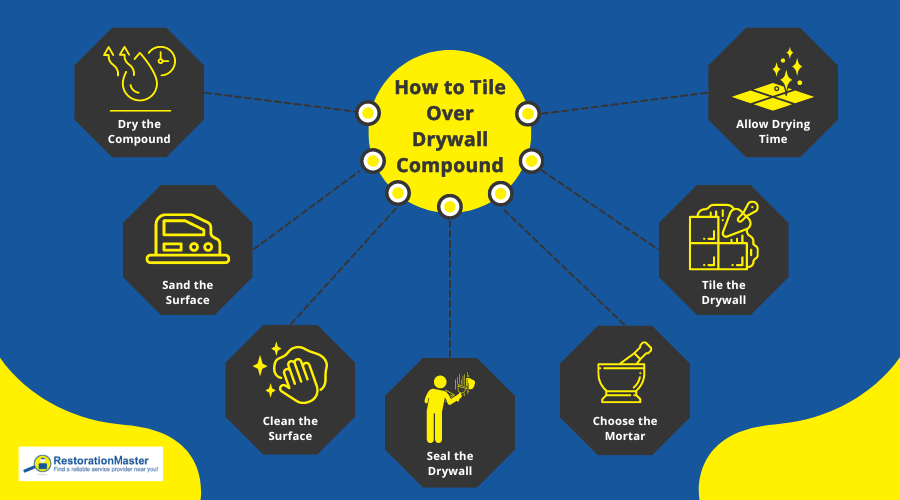
1. Fully Dry the Compound
It is essential to give the drywall compound enough time to dry and cure completely. Depending on the environment, you should allow at least 24 to 48 hours for dryingDrying is the process of removing moisture from materials, s... More.
2. Sand the Surface
After the compound is completely dry, use fine-grit sandpaper to create an even surface. This step is important to ensure that the tiles have a solid surface to adhere to. If there are bumps or imperfections, this will compromise the integrity of the tiled surface.
3. Clean the Surface
Adequate preparationPreparation is the steps taken to ready a property, equipmen... More is a must before installing the tiles over the drywall. Since all drywall is severely affected by moisture, it is critical to prepare the surface before tiling. The aim is to prep the surface so that it withstands humid conditions.
Preparing the drywall starts with cleaning the surface of all dirt, dust, and debris. In some cases, pre-existing tiles will have to be removed before retiling. A new gypsum board will be required since it is virtually impossible to remove old, adhered tiles without damaging the board.
Cleaning the drywall previously plastered with tiles also requires scraping off the remaining adhesives. The surface should be smooth and dry. If any wallpaper remains stuck to the drywall, peel it off to prevent unwanted issues: tiles can fall when the wallpaper loosens.
4. Seal the Drywall
If cracks or holes are visible along the drywall, seal the flaws with compound filler. Sand the newly coated drywall to produce a smooth surface on which to adhere the tiles. Once the surface of the drywall is smooth, seal it with a high-quality sealer. Let the drywall dry.
Giving the drywall a light sanding helps to improve the adhesion of the tile mortar. In turn, this step gives the tiles a better grip. Sanding will introduce dust into the vicinity. It’s important to remove all the dust particles before continuing with the installation of the tiles.
5. Choose the Mortar
Thinset, also called thinset mortar, is preferred when laying the tiles, as it allows the tile to bond to the backer board. The adhesive consists mainly of cement, fine sand, and a water-retaining agent, such as an alkyl derivative of cellulose. Bonding strength increases when latexLatex is a natural or synthetic rubber material commonly use... More additives are added.
Thinset mortar comes in two colors: white and gray. Choosing the right color depends on the grout that will be used. White thinset mortar is ideal for use with light grout. Gray thinset mortar is more suitable when dark grout is used. Thinset mortar is available in a pre-mixed or dry powder form.
6. Tile the Drywall
Tile from the bottom, working upwards. Tiling from the top is challenging, since the tiles may slip. Alternately, consider tiling from the center and working toward the sides. Consider the slope of the floor, and tile the wall with the highest slope first, using the same height for other walls.
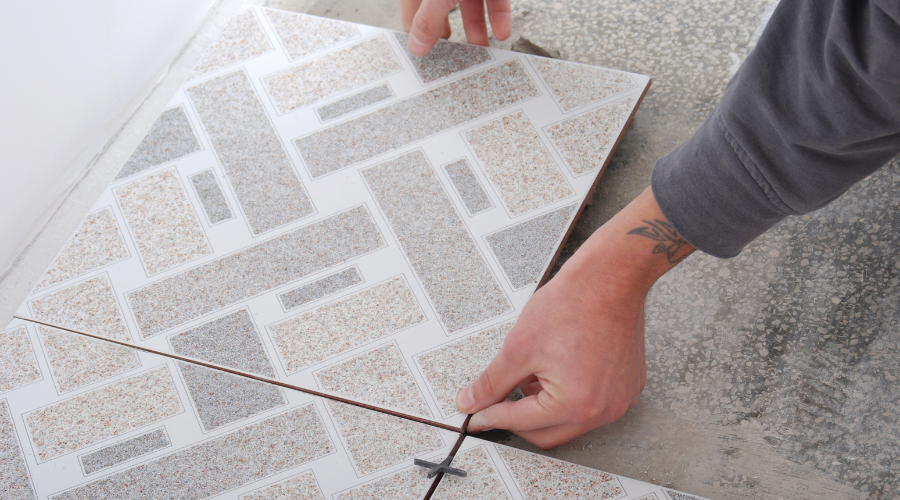
Divide the wall into equal quadrants, and tile each quadrant one by one. Spread the thinset over the drywall. Upon placing the first tile, insert a spacer at the edge to maintain equal spacing between the tiles. Continue with the second tile, adding spacers until the entire row is completed.
7. Allow the Tiles to Dry
Give the adhesive around the newly installed tiles 24 hours to fully dry. After the required time has elapsed, remove the spacers. Apply grout between the tiles. Using a mop or spongeA sponge is a porous material used to absorb liquids or clea... More dampened with water, clean the remaining adhesive or grout from the tiles.
What are Additional Tips for Tiling Over Drywall Compound?
When tiling over drywall, consider the following tips. Work in small sections to prevent the thinset from dryingDrying is the process of removing moisture from materials, s... More out before you set the tiles. Spread the thinset and tile an area that you can complete within 10 to 15 minutes. Prime the drywall before tiling to prevent cracked tiles. If the drywall is painted, scrape off the paint before tiling. Scrub away any grease to allow the mortar to adhere to the drywall and have a strong grip on the tiles.
In conclusion, tiling over drywall can be a weekend DIY project. But when you need drywall repairs or reconstruction services, consult the professionals at RestorationMaster. We provide same-day services to fix damaged drywall. Our swift and efficient services keep the walls of your home or commercial business looking their best.
Drywall can become damaged due to several common causes. After water damage, the walls can become stained. Flawed drywall seams, nail pops, and holes in the wall can also cause damage. When the house settles, undergoes ceiling repairRepair is the act of fixing or restoring damaged property, m... More, or is painted, the drywall can potentially become ruined.
Whether your drywall is dented, cracked, blemished, or stained as a result of water damage, the experts at RestorationMaster will provide high-quality reconstruction services efficiently and swiftly. Our specialists skillfully handle both minor (small holes in the wall) and large-scale (water-damaged walls) drywall repairs.

