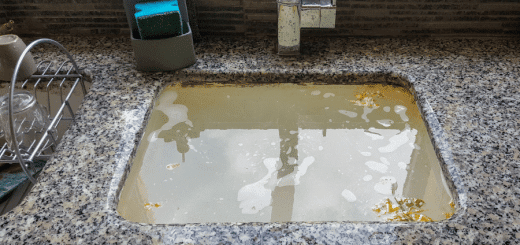
How to Detect Water Damage in Your Home with an Infrared Camera
As we enter the cold season, frozen pipes and leaking roofs may cause severe damage to your property. However, there are several ways to detect water damage in your home or office in the early stage, before it becomes a major issue. One example is the infrared camera.
Innovative Product to Detect Water Damage
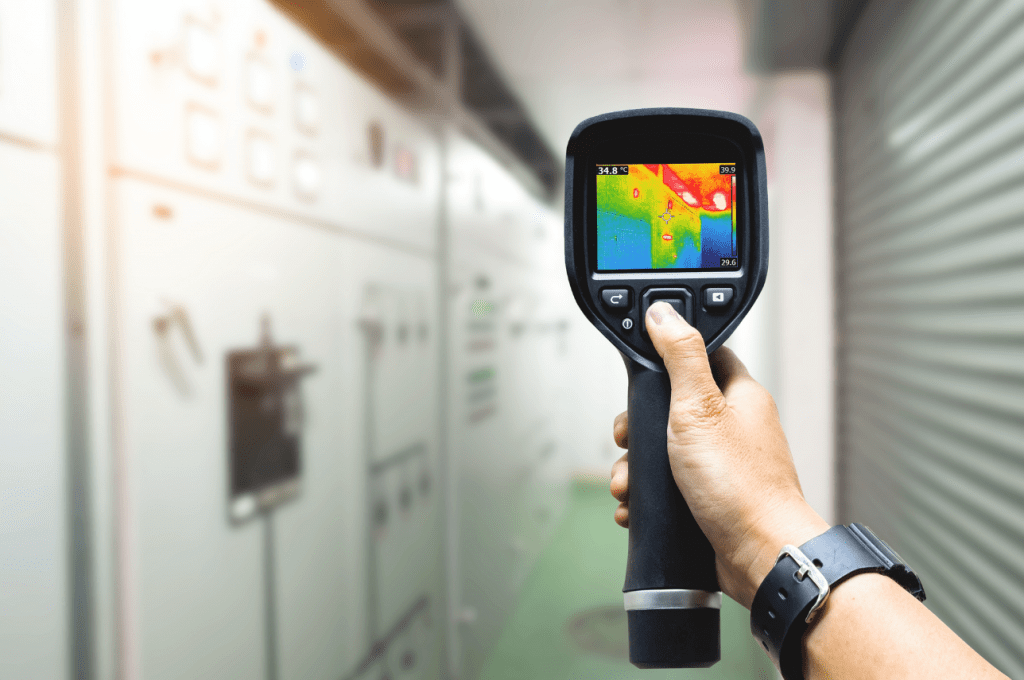
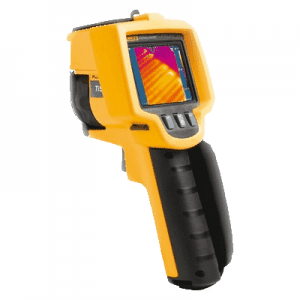
Infrared cameras are one of the most innovative ways to detect water damage within a home. As their prices and capabilities vary, the majority will function in the same way in terms of preventing water damage within your home. Used by professionals to detect water leaks and damages, these devices will save you hundreds or even thousands of dollars in the long run by identifying the problem in its earliest stage.
An infrared camera (also known as an infrared camera or a thermal camera, or an infrared thermometer) is a device that takes pictures of a thermal and moist area by infrared radiationRadiation is the emission of energy in the form of waves or ... More, similar to a regular camera that takes photos of the area using visible light. Instead of 400-700 nanometer series of visible light cameras, infrared cameras operate at wavelengths as long as 14,000 nm (14 mm). Their use is called thermography.
How to Use an Infrared Camera
To use them, you will want to set the temperature-sensing range on the infrared camera to provide the best image on the screen. Once you have a clear picture, scan the room from one wall to the next, moving the camera to and from the ceiling. You will want to focus specifically on the most prevalent areas, such as below windows, behind toilets, and other areas close to water. You might find that the water temperature in the walls may be hotter or cooler depending on the environment’s temperature. You should also notice the temperature difference in the colors shown on the screen.
Deciding on when to use the infrared camera can be tricky, as you probably have better things to do than scan your house every day for potential water damage. While doing this every day is not always necessary, you will definitely want to check high-risk areas during rainstorms, snowstorms, or on a warmer winter day when the snow is melting.
To ensure the accuracy of the infrared camera, you need to make sure of the following. Check if your thermometer has enough power, configure appropriate emissivity temperature compensation, display light, and machine language setting.
- Check the battery capacity: You need to ensure the battery capacity for the smooth and easy operation of the machine. You can monitor the battery level by examining the battery or viewing it directly on the screen display.
- Language setting: This is a mandatory step for using the thermal imaging camera well.
- Conduct selection of emissivity: Each material has a certain emissivity. Choosing the right emissivity index makes the display of thermal images accurate and consistent.
- Setting the temperature compensation on the background: This is necessary for the device to return appropriate thermal images, limiting errors and temperature differences. You need to do it in MENU -> MEASUREMENT -> BACKGROUND. It is best to choose the temperature closest to the ambient temperature if possible.
- Screen brightness setting: We can actively adjust the brightness level for easy use and operation. As a result, the camera can be used even in places where there is no guarantee of light. You can actively configure the brightness setting for convenient viewing. You do it by the following: MENU -> CAMERA -> BACKLIGHT, then select the appropriate mode, low, medium, and high.
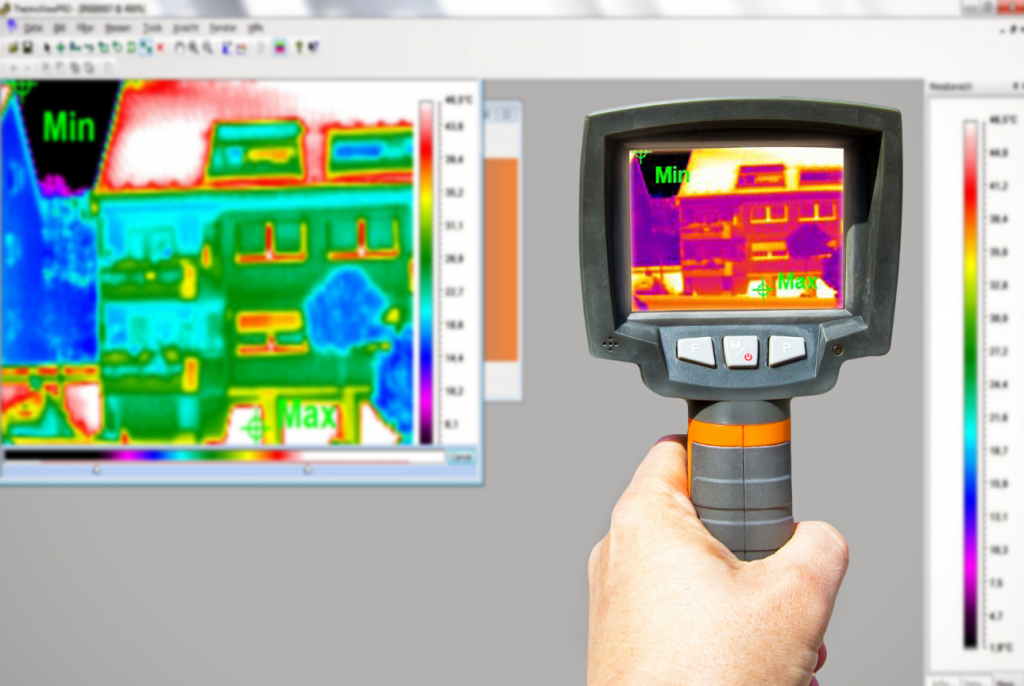
After finish setting up your infrared camera, follow the instructions below to check and take photos of the temperature:
Step 1: Start the thermal imaging camera and perform the necessary installation operations.
Step 2: Open the lens protective cover and bring the camera to the object of observation. Align the specimen image to the center of the screen.
Step 3: Press the trigger to record the thermal image. Record the required data.
Note that users can add 2x or 4x Zoom functions for some thermal cameras. This can make it easier for you to observe, but it can also be an obstacle because you need to make settings each time to have the right image. To adjust the view, go to the operation setting: MENU -> IMAGE -> ZOOM. You can adjust to 1x zoom mode—display image size 1:1. Or, if you want to enlarge the image, you can choose 2x, 4x mode.
How to Identify a Hidden Water Leak
When you suspect there might be a water leak in your home or building, you should see a circular image that is a different color from the area surrounding it. The evaporationEvaporation is the process by which a liquid, such as water,... More process will show the difference in temperature, allowing you to see the different colors and identify the leaks on the camera. For example, you might notice a temperature difference in the walls near the door that may show evidence of a leak. As soon as you notice this evidence, you can also use a moisture meterA moisture meter is a device used to measure the moisture le... More to confirm that there is excessive moisture in a particular area.
Finally, you can identify the water damage in its earliest stage before it has grown into a bigger problem. This type of damage can be easily fixed by replacing the material that has been damaged or placing an insulated cover over the affected area (if it is inside a wall or hidden).
Visit Water Damage Frequently Asked Questions to learn how to deal with water damage situations and if it would be covered by insurance.
Something to keep in mind while using Infrared Cameras
- Align the specimen image in the center of the screen for the easiest and most accurate image.
While performing thermal photographing with this device, it is recommended that you align and display the specimen image so that it is in the center of the screen. It helps to show the temperature accurately, supporting active observation. You can adjust it yourself as you like or follow the built-in navigation on the digital LCD screen.
- Close the protective lens cap after use. It prevents dust and dirt and protects the lens from moisture or other external factors.
- Clean and maintain the thermal camera properly to increase the quality of performance and the lifespan of the device.
After you finish using it, you need to clean and store it properly. When cleaning, limit water to the machine because some products are not equipped with water resistance. Direct contact with water can leadLead is a heavy metal that can be toxic to humans, especiall... More to damage, affecting the machine’s performance. For storage, the device should be kept in a bag or a glass cabinet. It helps the machine avoid dust and limits moldMold is a type of fungus that grows in damp or humid conditi... More after a long time of not using.
Contact the Professionals for Larger Cleanup Jobs
Although infrared cameras are best used to identify a hidden water leak or water damage in its earliest stages, sometimes the damage may not be detected until later on. In addition, as companies are working to improve their gadgets, it is almost impossible to completely prevent water damage within a home or building.
If you find a larger water leak or an area that has taken on substantial damage, do not hesitate to call a professional water damage restoration service. These specialists have the tools and equipment to properly extract all water from the area and replace the damaged materials. Water restorationRestoration is the process of returning a property to its pr... More companies provide 24/7 quality services to restore your peace of mind after encountering a flooded basement or a water-damaged area of the building.

