How To Get Rid Of Watermarks On Wood Furniture
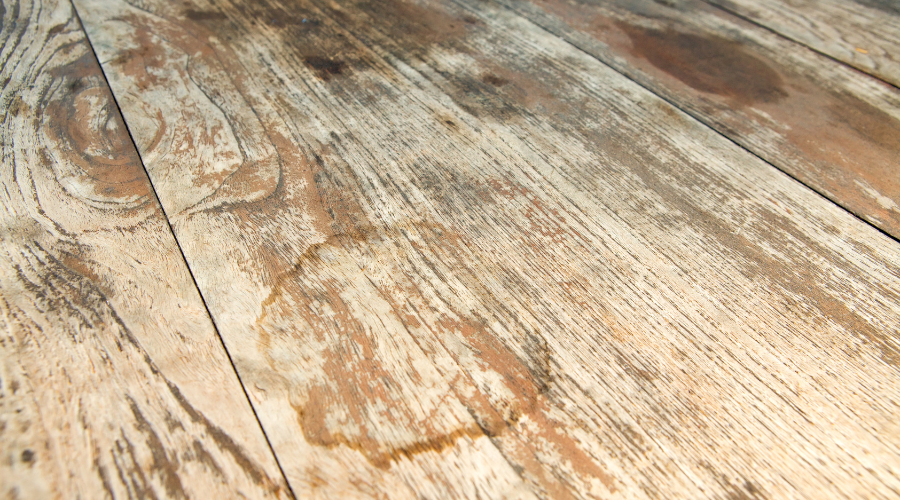
One of the most common cleaning issues is water rings which can emerge on wooden surfaces. There are many reasons for people forgetting to use a coaster, but the after effect will always remain the same. The dark circle which is to be found on a table or counter top can be quite annoying for the owner and quite embarrassing for the perpetrator. When it comes to getting rid of such marks, the process is not simple and might require a great deal of hard work on your behalf. Read on to discover the best way to remove those annoying watermarks on wood furniture.

Remove water stain from wood furniture is the most difficult part of a job, but it’s not that difficult to remove stains if you are following a right procedure. This guide will help you remove water and other dried on stains instantly.
The mark left by a circle of water which has soaked into a wooden surface can actually sink quite deep into the material. As such, getting the watermarkA watermark is a visible stain or discoloration left on surf... More removed can be a process which requires not only quite a bit of effort, but quite a large selection of items in order to remove the mark completely. To get the best results, you will need the following:
A stripping agent, to remove the finish which has been applied to the wooden surface; sandpaper, not the coarsest available, but something closer to the smoother end of the market; some wood bleach and some wood stain; and a new finish, preferably one which matches the old in order to ensure a smooth transition.
Steps to remove water stain from wood furniture
Once you have collected all of these items, which will be available either from your supermarket or from a local hardware and DIY store (you may need to visit both), then you will be ready to begin.

You can easily get rid of watermarks on wood furniture with a few simple steps.
The first step is to employ the stripper in order to remove the finish from the area which has been affected by the stain. If you believe that it will be difficult to match the same finish later in the project but still wish to have an even coating, then it may simply be easier to remove the finish from all of the surface rather than one specific spot, though this will likely result in a great deal more work for you to do.
Once the protective layer or layers have been stripped away, you should have access to the wood which is beneath. It is this wood that you will have to remove the discoloration from, so you have had to expose the wood from under the finish in order to gain access. In order to remove the discoloration, take the sand paper and move it across the affected area. Start with a gentle back and forth motions, occasionally taking your hand back in order to examine the extent of your work. The intent is to remove as little of the wood as possible, so stop as soon as you see that the stain and any marks have been removed. It is important not to create too deep an indent in the wood as this will cause there to be an uneven surface.
Once you are satisfied that the stain has been removed, use a dry cloth or paper towel to brush away as much of the dust and wood particles that have built up as possible. Failure to do this will result in the smaller pieces getting caught in the finish and leaving a bad aesthetic effect.
Once you are satisfied, begin to apply the finish gently, gradually building it up to the same levels as the original. Leave the surface well alone while the surface dries.
Once dried, simply stand back and admire your handiwork. And remember to use coasters in the future.
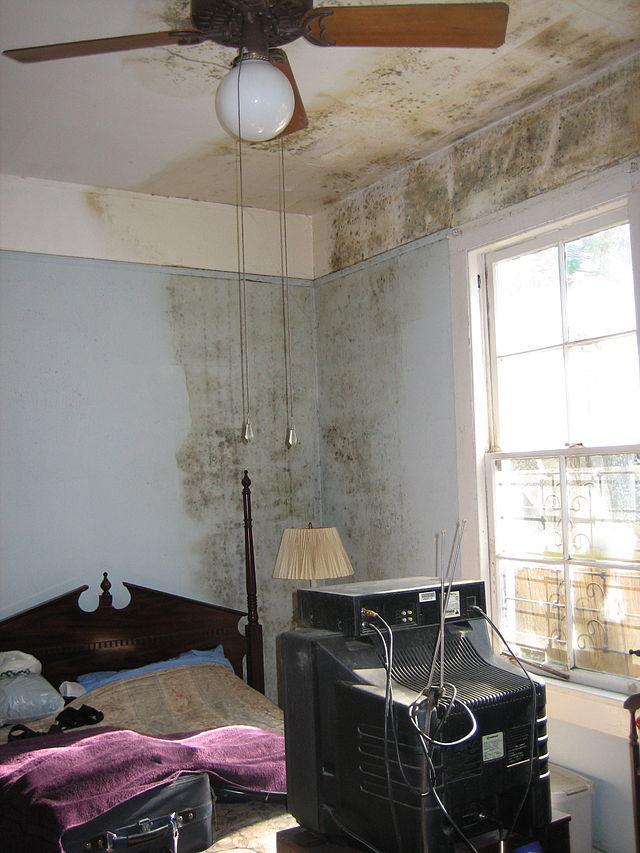
If your wood furniture suffers more severe water damage, you should contact a water damage restoration company to professionally restore it. If possible, avoid dryingDrying is the process of removing moisture from materials, s... More the wet furniture with an electric heating source since this could cause expansion of the wood; instead, use air circulation and dehumidificationDehumidification is the process of reducing and controlling ... More equipment to dry out a room in which damaged furniture is stored.


Hi – stopping by from the Facebook UBC group! This is a very timely post, because I just managed to leave a water ring on our coffee table yesterday! I’m usually more careful, but just wasn’t paying attention. I’ll have to try your method – thanks for sharing!