How to Remove Mold from Caulk in the Shower
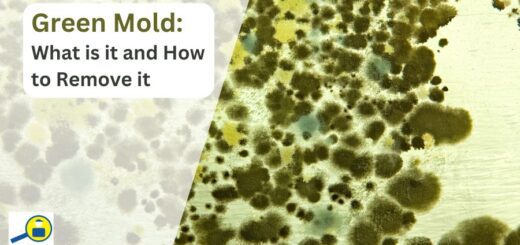
MoldMold is a type of fungus that grows in damp or humid conditi... More survives in warm, moist areas. The bathroom shower is a perfect place for it to grow quickly.
MoldMold is a type of fungus that grows in damp or humid conditi... More is a common household problem, and it doesn’t matter if your home is brand new or 100 years old. Molds are living organisms that absorb their nutrients from organic food sources in the environment. They thrive in moist areas and only need a small crack or crevice to grow and spread, which is why a minor moldMold is a type of fungus that grows in damp or humid conditi... More problem in your shower can easily turn into a major one if it’s not addressed quickly. We recommend checking your caulk frequently and treating moldMold is a type of fungus that grows in damp or humid conditi... More at the first signs of growth.
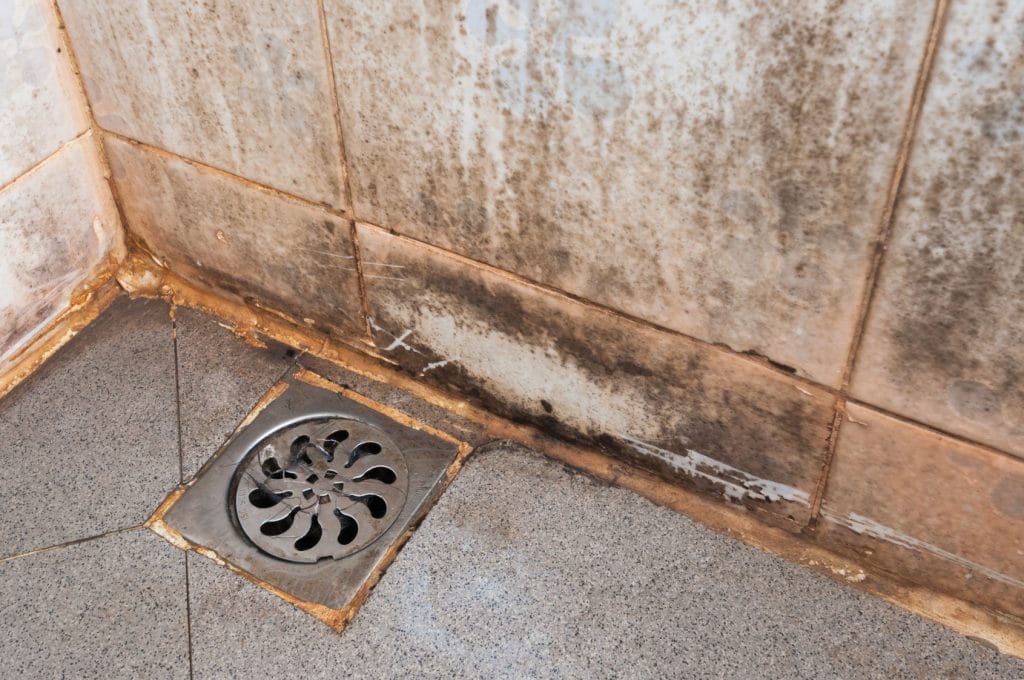
Caulk is the material used to seal cracks between tiles in a bathtub or shower. After exposure to harmful moldMold is a type of fungus that grows in damp or humid conditi... More, the original color of your caulk may begin to darken or turn black. Aside from unsightliness, moldMold is a type of fungus that grows in damp or humid conditi... More growth can also be a very serious health problem, particularly for individuals with respiratory illnesses and allergies.
In this easy-to-follow guide, we’ll discuss what exactly moldMold is a type of fungus that grows in damp or humid conditi... More is, why it’s problematic, and what you can do if you ever come across moldMold is a type of fungus that grows in damp or humid conditi... More in your shower.
What is Mold?
Molds are microscopic organisms that are found almost everywhere—on plant and animal material, in soil and water, even in the air. Molds are critical to the environment because they facilitate the breakdown of dead plant and animal matter including leaf litter, feces, and animal carcasses. MoldMold is a type of fungus that grows in damp or humid conditi... More sporesSpores are microscopic reproductive units of fungi or mold t... More are lightweight and easily carried by air currents, which allows them to spread quickly, especially in indoor environments. When moldMold is a type of fungus that grows in damp or humid conditi... More is present in large numbers, it may cause allergic reactions similar to pollen from plants.
Dangers Caused by Mold
MoldMold is a type of fungus that grows in damp or humid conditi... More growth in the home is a very serious issue that should be dealt with as quickly as possible. Exposure to moldMold is a type of fungus that grows in damp or humid conditi... More can cause any combination of the following allergy symptoms:
- Runny nose
- Watery eyes
- Sneezing
- Coughing
- Difficulty breathing
- Itchy throat
- Headache
- Fatigue
Symptoms may progress in severity over time as the body becomes more sensitized to moldMold is a type of fungus that grows in damp or humid conditi... More exposure, potentially causing worse complications. In addition to its adverse health effects, moldMold is a type of fungus that grows in damp or humid conditi... More can also eat away at the building materials in a home and eventually cause structural damage,
How to Remove Mold from the Caulk in Your Shower
Removing moldMold is a type of fungus that grows in damp or humid conditi... More from the caulk in your shower is crucial for keeping it safe and sanitary. In the event you notice moldMold is a type of fungus that grows in damp or humid conditi... More beginning to grow in your shower caulk and want to take care of it yourself, there is a simple process that you should follow.
First off, make sure you have the following items on hand, as you’ll need them for the mold removal process:
- Hand vacuum or broom
- Soft-bristled cleaning brush
- Scrubbing spongeA sponge is a porous material used to absorb liquids or clea... More
- Spray bottle
- Wet cloth or rag
- Bleach
- Vinegar
Once you’ve gathered all the necessary materials, use the following six steps to remove moldMold is a type of fungus that grows in damp or humid conditi... More from your caulk.
1. Ventilate the area and put on personal protective equipment
MoldMold is a type of fungus that grows in damp or humid conditi... More removal is a messy job, so it’s important to make sure you’re protected before you begin. Always start by opening a nearby window or door to allow air to circulate throughout the process. We also recommend wearing a face mask, gloves, and goggles to protect yourself from inhaling moldMold is a type of fungus that grows in damp or humid conditi... More as you perform the remediation.
2. Use a soft-bristled brush or toothbrush to remove debris from the tile
Dirt, dust, and other debris can spread around while you clean and obstruct your moldMold is a type of fungus that grows in damp or humid conditi... More removal efforts. Before you attempt to remove the moldMold is a type of fungus that grows in damp or humid conditi... More from your caulk, make sure the area is cleared of any surface-level debris. You can do this with a soft-bristled cleaning brush, or with a toothbrush if you don’t have one.
3.Create bleach solution
Mix one part bleach with ten parts water to create your moldMold is a type of fungus that grows in damp or humid conditi... More cleaning solutionA solution is a homogeneous mixture of two or more substance... More. Prepare enough to generously cover the area of moldMold is a type of fungus that grows in damp or humid conditi... More you are treating.
4. Apply bleach
Once your bleach solutionA solution is a homogeneous mixture of two or more substance... More is made, apply it over the surface of the caulk, paying extra attention to lighter-colored areas. Set the bleach in place by layering toilet paper on top, or cotton balls if you’re covering a larger area. This prevents the bleach from evaporating prematurely. Make sure to keep nearby windows open to allow for proper ventilationVentilation is the process of exchanging or circulating air ... More as the bleach sets.
5. Scrub the area
Next, take your soft-bristled cleaning brush and scrub the affected area to manually dislodge and remove any remaining moldMold is a type of fungus that grows in damp or humid conditi... More on the surface of your caulk.
6. Finish the job with vinegar
Bleach does a great job of getting rid of visible moldMold is a type of fungus that grows in damp or humid conditi... More, but it doesn’t eliminate it completely quite as effectively as vinegar. When you’re finished bleaching and scrubbing the area, we recommend following up with a vinegar treatment to eradicate moldMold is a type of fungus that grows in damp or humid conditi... More beneath the surface of your caulk and tile. All you’ll need to do is fill a spray bottle with vinegar, coat the affected area until it’s completely covered, then let it sit for 2-4 hours. After that, rinse it off and enjoy your new mold-free caulk!
MoldMold is a type of fungus that grows in damp or humid conditi... More is a common problem found in areas with high moisture and humidityHumidity is the amount of moisture or water vapor present in... More, and thus, it often pops us in showers. MoldMold is a type of fungus that grows in damp or humid conditi... More growth can create serious health risks and leadLead is a heavy metal that can be toxic to humans, especiall... More to costly property damage if left untreated. When at-home methods aren’t sufficient, a mold remediation professional can step in and correct the problem once and for all with advanced equipment and cleaning techniques.
If you suspect moldMold is a type of fungus that grows in damp or humid conditi... More growth on the caulk in your shower, call a local mold removal company quickly to begin restoring the damage. An IICRC-certified team is the most qualified to thoroughly inspect your property for moldMold is a type of fungus that grows in damp or humid conditi... More and develop a detailed, comprehensive plan to remove it.

