How to Repair Water Damage Under the Kitchen Sink
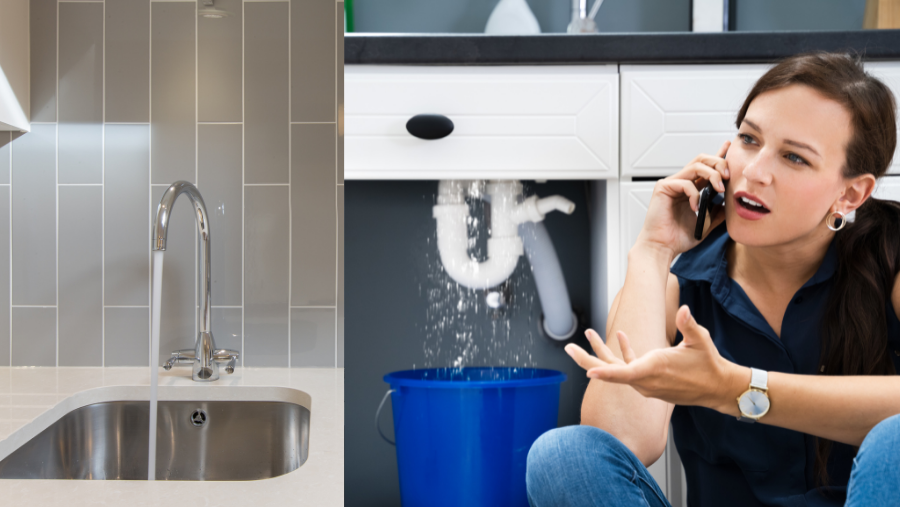
Water damage can create a disaster under your kitchen sink. This is a common situation in homes and businesses as the kitchen sink is so commonly used. Leaks overflow or condensation can gather in the cabinet under the sink and cause damage to the cabinet or leadLead is a heavy metal that can be toxic to humans, especiall... More to moldMold is a type of fungus that grows in damp or humid conditi... More growth. You can try fixing the cabinet yourself using the below-listed steps, replace the cabinets, or call professionals to clean and restore the area.
Some common tools you will need to fix water damage under your sink include:
- Bleach or ammonia
- A hairdryer
- Dry clothes and sponges
- Toothpaste and baking soda
- Mayo and cigarette ashes
- Steel wool and mineral oil
- Polish
Steps to Repair Water Damage Under the Kitchen Sink
The following are steps to dry out the water damage under your kitchen sink:
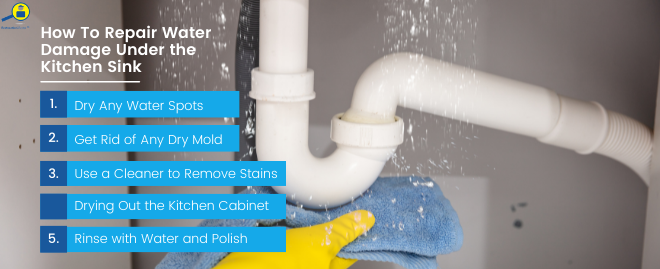
Step 1: Dry Any Water Spots
Before starting any work, you will need to remove all items that are stored under your kitchen sink. This includes any cleaners, clutter, garbage bags etc. Use a dry cloth try to remove any water you see and then use a hairdryer to dry it out as much as possible. You should use the low setting on the hair dryer and hold it directly above the water damaged spot for three minutes. Keep repeating this process until the water is dry from the area. In the case that you have major damage with a large area being damp, use the hair dryer to dry the whole area as opposed to dryingDrying is the process of removing moisture from materials, s... More small spots at a time. Try to stay on an area long enough so that it dries.
Step 2: Get Rid of Any Dry Mold
Water damage creates moist areas which can cause moldMold is a type of fungus that grows in damp or humid conditi... More growth. Depending on how much moldMold is a type of fungus that grows in damp or humid conditi... More you have and how large the area is, you may be able to deal with cleaning it up yourself. Here are some things you can do to remove moldMold is a type of fungus that grows in damp or humid conditi... More:
- For the under the sink area, use a spongeA sponge is a porous material used to absorb liquids or clea... More dipped in bleach and water.
- Always wear a mask that covers your nose and mouth to protect yourself.
- Make sure you scrub vigorously with the spongeA sponge is a porous material used to absorb liquids or clea... More to get rid of the moldMold is a type of fungus that grows in damp or humid conditi... More. Bleach helps remove the moldMold is a type of fungus that grows in damp or humid conditi... More and disinfects the area.
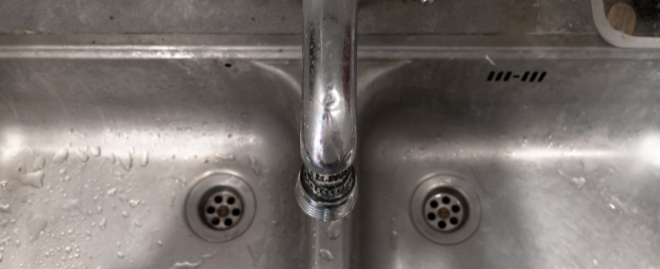
MoldMold is a type of fungus that grows in damp or humid conditi... More can be very dangerous as it is a health hazard. Even though we may not be able to see it, moldMold is a type of fungus that grows in damp or humid conditi... More sporesSpores are microscopic reproductive units of fungi or mold t... More move through the air and contaminate it. Therefore, it is important to wear a mask when cleaning up moldMold is a type of fungus that grows in damp or humid conditi... More. We recommend calling professionals to remediate the moldMold is a type of fungus that grows in damp or humid conditi... More so that you can be sure it’s been removed properly, that it does not harm your loved ones, and that it does not come back.
Step 3: Use a Cleaner to Remove Stains
The area under the kitchen sink that has been affected by water damage has to be cleaned thoroughly using ammonia. The cleaning process is simple. You just need to take a dry cloth and scrub any areas under your sink that have been damaged by water.
If you prefer not to use chemicals when cleaning, we suggest creating a paste from toothpaste and baking soda, or cigarette ashes and mayo. You would apply the paste to the damaged area and let it sit for 25 minutes.
If none of the options mentioned above work for you, you can try using mineral oil and steel wool to remove any stains.
Step 4: Drying Out the Kitchen Cabinet
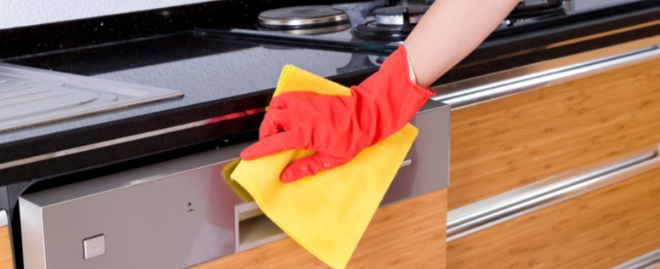
Once you’ve applied a cleaner and let it sit for a while, make sure to take a dry cloth and wipe it away. You should rub the area in a circular motion so that you can get rid of the cleaner and the water stains.
Step 5: Rinse with Water and Polish
Once you’ve gotten rid of the cleaner, you should take a piece of cloth that you’ve wet in cold water and wipe the cabinet to remove any leftover residueResidue is any leftover material, such as soot, dust, or che... More. You can also use furniture polish to make your kitchen cabinet look extra shiny.
If you’ve finished all the steps above and you are not happy with the results, we recommend calling a professional water damage restoration company. They have special tools and equipment that allow for fast dryingDrying is the process of removing moisture from materials, s... More, stain removal, and cleaning with powerful cleaners that cannot compare with home cleaners. Finally, a benefit to calling a professional company is that they will complete the dryingDrying is the process of removing moisture from materials, s... More and cleaning process quickly.

