How to Restore Water-Damaged Hardwood Floors
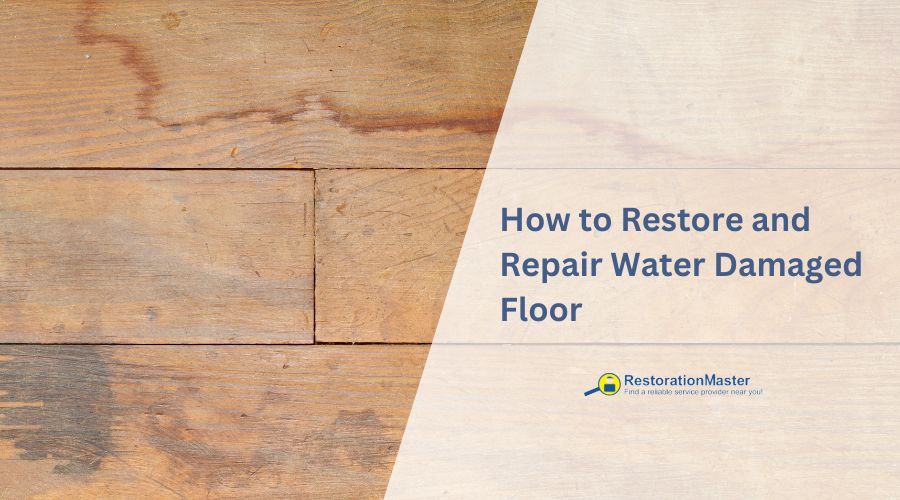
Hardwood floors are outstanding in every way, with only a weakness for water as even a small amount of water can deal a lot of damage. The history of wood flooring dates back to the 1600s in colonial America, where early settlers used local species like pine or oak to construct their homes. Over time, wood flooring evolved through the 18th and 19th centuries with advances in woodworking techniques and the introduction of tongue-and-groove milling.
Are you one of those homeowners whose wooden floors have been damaged by water? If so, make sure to read this article, as we will be explaining how to restore water-damaged floors.
How to Restore and Repair Water Damaged Wood Floors
It would take atleast 1-2 weeks to restore and repairRepair is the act of fixing or restoring damaged property, m... More the wood flooring. Here’s a step-by step approach you should follow:
Step 1: Assess the damage.
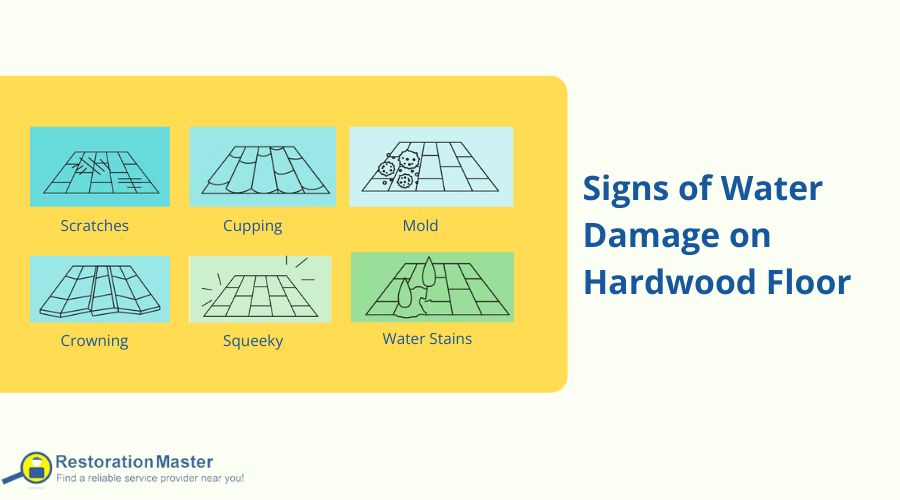
Wood is a hygroscopic material; hence it can absorb and retain any moisture in the environment. Knowing how to spot the signs of water damage will help you catch the problem before significant damage occurs. Cupping and crowning are some clear signs that there is an issue somewhere.
Cupping
Crowning
Crowning occurs when the edges of the floorboards slope downwards, and the middle raises, giving the floor an arched appearance. Crowning typically indicates that the moisture contentMoisture content is the amount of water present in a materia... More at the top of the floor is higher than at the bottom.
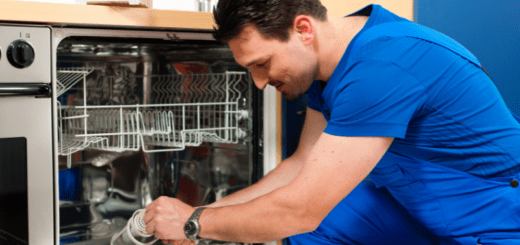
When humidityHumidity is the amount of moisture or water vapor present in... More and moisture contentMoisture content is the amount of water present in a materia... More in the air rise, the wood absorbs the excess moisture and swells, causing crowning. Crowning can result from moisture contentMoisture content is the amount of water present in a materia... More in the air and direct water exposure to the wood floor. Examples include mopping the wooden floor, leaks from appliances like dishwashers, entry and exit areas where wet shoes contact the wooden floor, or the area where you place your pet’s water bowl.
All these examples involve water directly on the wood floor, potentially causing crowning and further damage.
Discoloration and Staining
Discoloration and staining are clear signs of water damage on wood floors. When water seeps into the wood, it alters the natural color, often creating dark spots or patches that stand out against the unaffected areas. These spots can appear noticeably darker, indicating where moisture has penetrated. Staining occurs when water carries contaminants or reacts with the wood finish, leaving marks that are hard to remove. Over time, it can weaken the durability of the floor.
Mold Growth
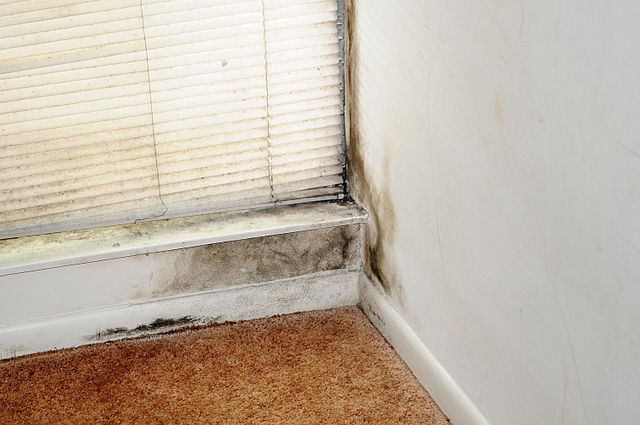
MoldMold is a type of fungus that grows in damp or humid conditi... More starts as small black, green, or white spots on the surface of the wood. These spots can quickly spread, forming larger patches that give the floor a blotchy, stained appearance. In some cases, moldMold is a type of fungus that grows in damp or humid conditi... More can also appear fuzzy or slimy, depending on the type and severity of the infestation. The affected areas might feel soft or spongy underfoot, indicating deeper damage to the wood. Additionally, moldMold is a type of fungus that grows in damp or humid conditi... More often comes with a distinct musty odorAn odor is a smell, often detectable by the human nose, whic... More, which can be a strong indicator of its presence even before it’s visibly noticeable.
Step 2: Determine if your floor requires repair or replacement.
Damage to wood flooring may vary depending on the amount of time the floor was wet. The moisture contentMoisture content is the amount of water present in a materia... More in typical hardwood floors ranges between 6-12%, while a flooded floor can have a moisture contentMoisture content is the amount of water present in a materia... More of up to 40%, which is why the damage can be severe.
The extent of the damage depends on how long the floor was exposed to water. If the wooden floor is left to dry on its own, more moisture is retained. Determining whether to repairRepair is the act of fixing or restoring damaged property, m... More or replace the flooring will depend on the following factors:
- The total amount of time the wooden floor has been exposed to water.
- The type of wood flooring, whether it is engineered hardwood or solid hardwood.
- The severity of the damage and whether water has penetrated down to the subfloorThe subfloor is the foundational layer beneath flooring mate... More.
- The flooring finish, as stains on isolated floorboards may have mellowed over time, making it difficult to replace such sections.
If there is minor damage, saving the floor is possible by replacing the affected floorboards, sanding, and refinishing the entire floor. However, if the damage is severe and extensive, the whole floor may need to be replaced, and sometimes the subfloorThe subfloor is the foundational layer beneath flooring mate... More may also need replacement.
Step 3: Find the root of what’s causing the issue.
Before starting any repairRepair is the act of fixing or restoring damaged property, m... More on your hardwood flooring, it is crucial to determine the source of the water causing the damage. Problems that damage wood floors may occur due to persistent moisture over a long period.
External sources are the first place to check. Stains on window and door frames indicate that water is seeping under the door or into the window’s framing. Around windows, you may also notice signs of water on the wall, such as staining or peeling paint.
Internal sources of water include radiators that might be leaking, as well as refrigerators and dishwashers. These appliances often have clogs in their filter housing, causing a persistent drip of water that may find its way down the floorboards and damage the planks. It is essential to perform visual inspections to identify these leaks and fix them to avoid further damage.
Step 4: Fixing water-damaged floors
The sooner you attend to your damaged floors, the better the chance of saving them. The first step is to gather all the tools and materials you will require to aid your repairRepair is the act of fixing or restoring damaged property, m... More. These tools will include:
- Shop vacuum
- Bucket
- Stiff brush
- SqueegeeA squeegee is a tool with a flat rubber blade used to remove... More
- Rubber gloves
- Fans or dehumidifiers
- DisinfectantA disinfectant is a chemical substance used to kill or inact... More (bleach solutionA solution is a homogeneous mixture of two or more substance... More or trisodium phosphate)
Remove the surface water
Clean the floor and treat moldy areas
To thoroughly clean the floor, you will require a mild detergent combined with a compatible disinfectantA disinfectant is a chemical substance used to kill or inact... More such as Mr. Clean. Add the detergent and disinfectantA disinfectant is a chemical substance used to kill or inact... More to a bucket of warm, clean water and stir to ensure an even mixture.
Using a stiff brush, scrub the floor’s entire surface and all the related woodwork (stairs, baseboards, newel posts, etc.). As you use the brush, it is important to rinse it frequently inside the bucket. Keep the water usage minimal, and do not pour any water on the floor since we do not want to add excess water to our current problem. Ensure you take the right amount of time while scrubbing and remove all the mud, dirt, and grime as any material left will cause bacteria to grow.
In the areas that show signs of mold growth, clean them with TSP (trisodium phosphate), which will help eradicate moldMold is a type of fungus that grows in damp or humid conditi... More growth. Scrub all the affected areas with the cleaner, ensuring the moldMold is a type of fungus that grows in damp or humid conditi... More is gone together with its discoloration. Rinse the area with clean water and then dry the surface with a cloth.
Run drying equipment and wait until the wood fully dries
It is advisable to dry the floor steadily, slowly, and naturally, as dryingDrying is the process of removing moisture from materials, s... More wood too quickly may cause it to weaken and crack. Also, never apply direct heat to hardwood floors as it can result in problems like splitting and cupping. Equipment such as dehumidifiers and heaters are also great at sucking up the excess moisture from the hardwood flooring, producing excellent results.
Open doors and windows to allow the outside air to fill the room and dry your surface. A large fan or a carpet drier can be placed on a door opening, and fan airflow out through the window. However, if the outside air is more humid than the inside air, close the doors, windows and run the fans.
Sand the floor
On the completion of dryingDrying is the process of removing moisture from materials, s... More a wooden floor, you may notice that some of the floorboards are bending upwards or downwards, otherwise known as cupping. A drum sander or a good orbital sander should be used to do heavy sanding to reduce some of the cuppings.
However, areas that are significantly cupped cannot be sanded flat again. Face nailing the floorboards back down is the only option in these cases. Sanding is a demanding process, so to avoid frustrations, mistakes, and damage, hiring a professional is highly advised.
Stain and refurnish
MoldMold is a type of fungus that grows in damp or humid conditi... More growth may also appear under the paint on the wooden floor, which creates a tricky problem. Your only option is to remove the entire furnish as the paint creates a seal that can trap water between the wood.
First, scrape the paint off and use an abrasive cleaner to scrub the wood. Dry the floor with the method outlined earlier, and when completely dry, you can then refurbish your hardwood flooring.
Conclusion
The most recommendable way to protect your hardwood flooring from water damage is to prevent it from occurring in the first place. Always make sure to use the appropriate sealant and reapply it quite often. Find and fix any areas with water leakage to address the problem early.
You should always perform routine maintenanceMaintenance is the routine care, inspection, and repair of a... More and manage any water damage signs immediately to ensure the floor stays nice and beautiful in your home. Hiring a water damage restorationWater damage restoration is the professional process of clea... More or reconstruction company to address the problem is also advisable to ensure they do not return.

